Confetti Cake

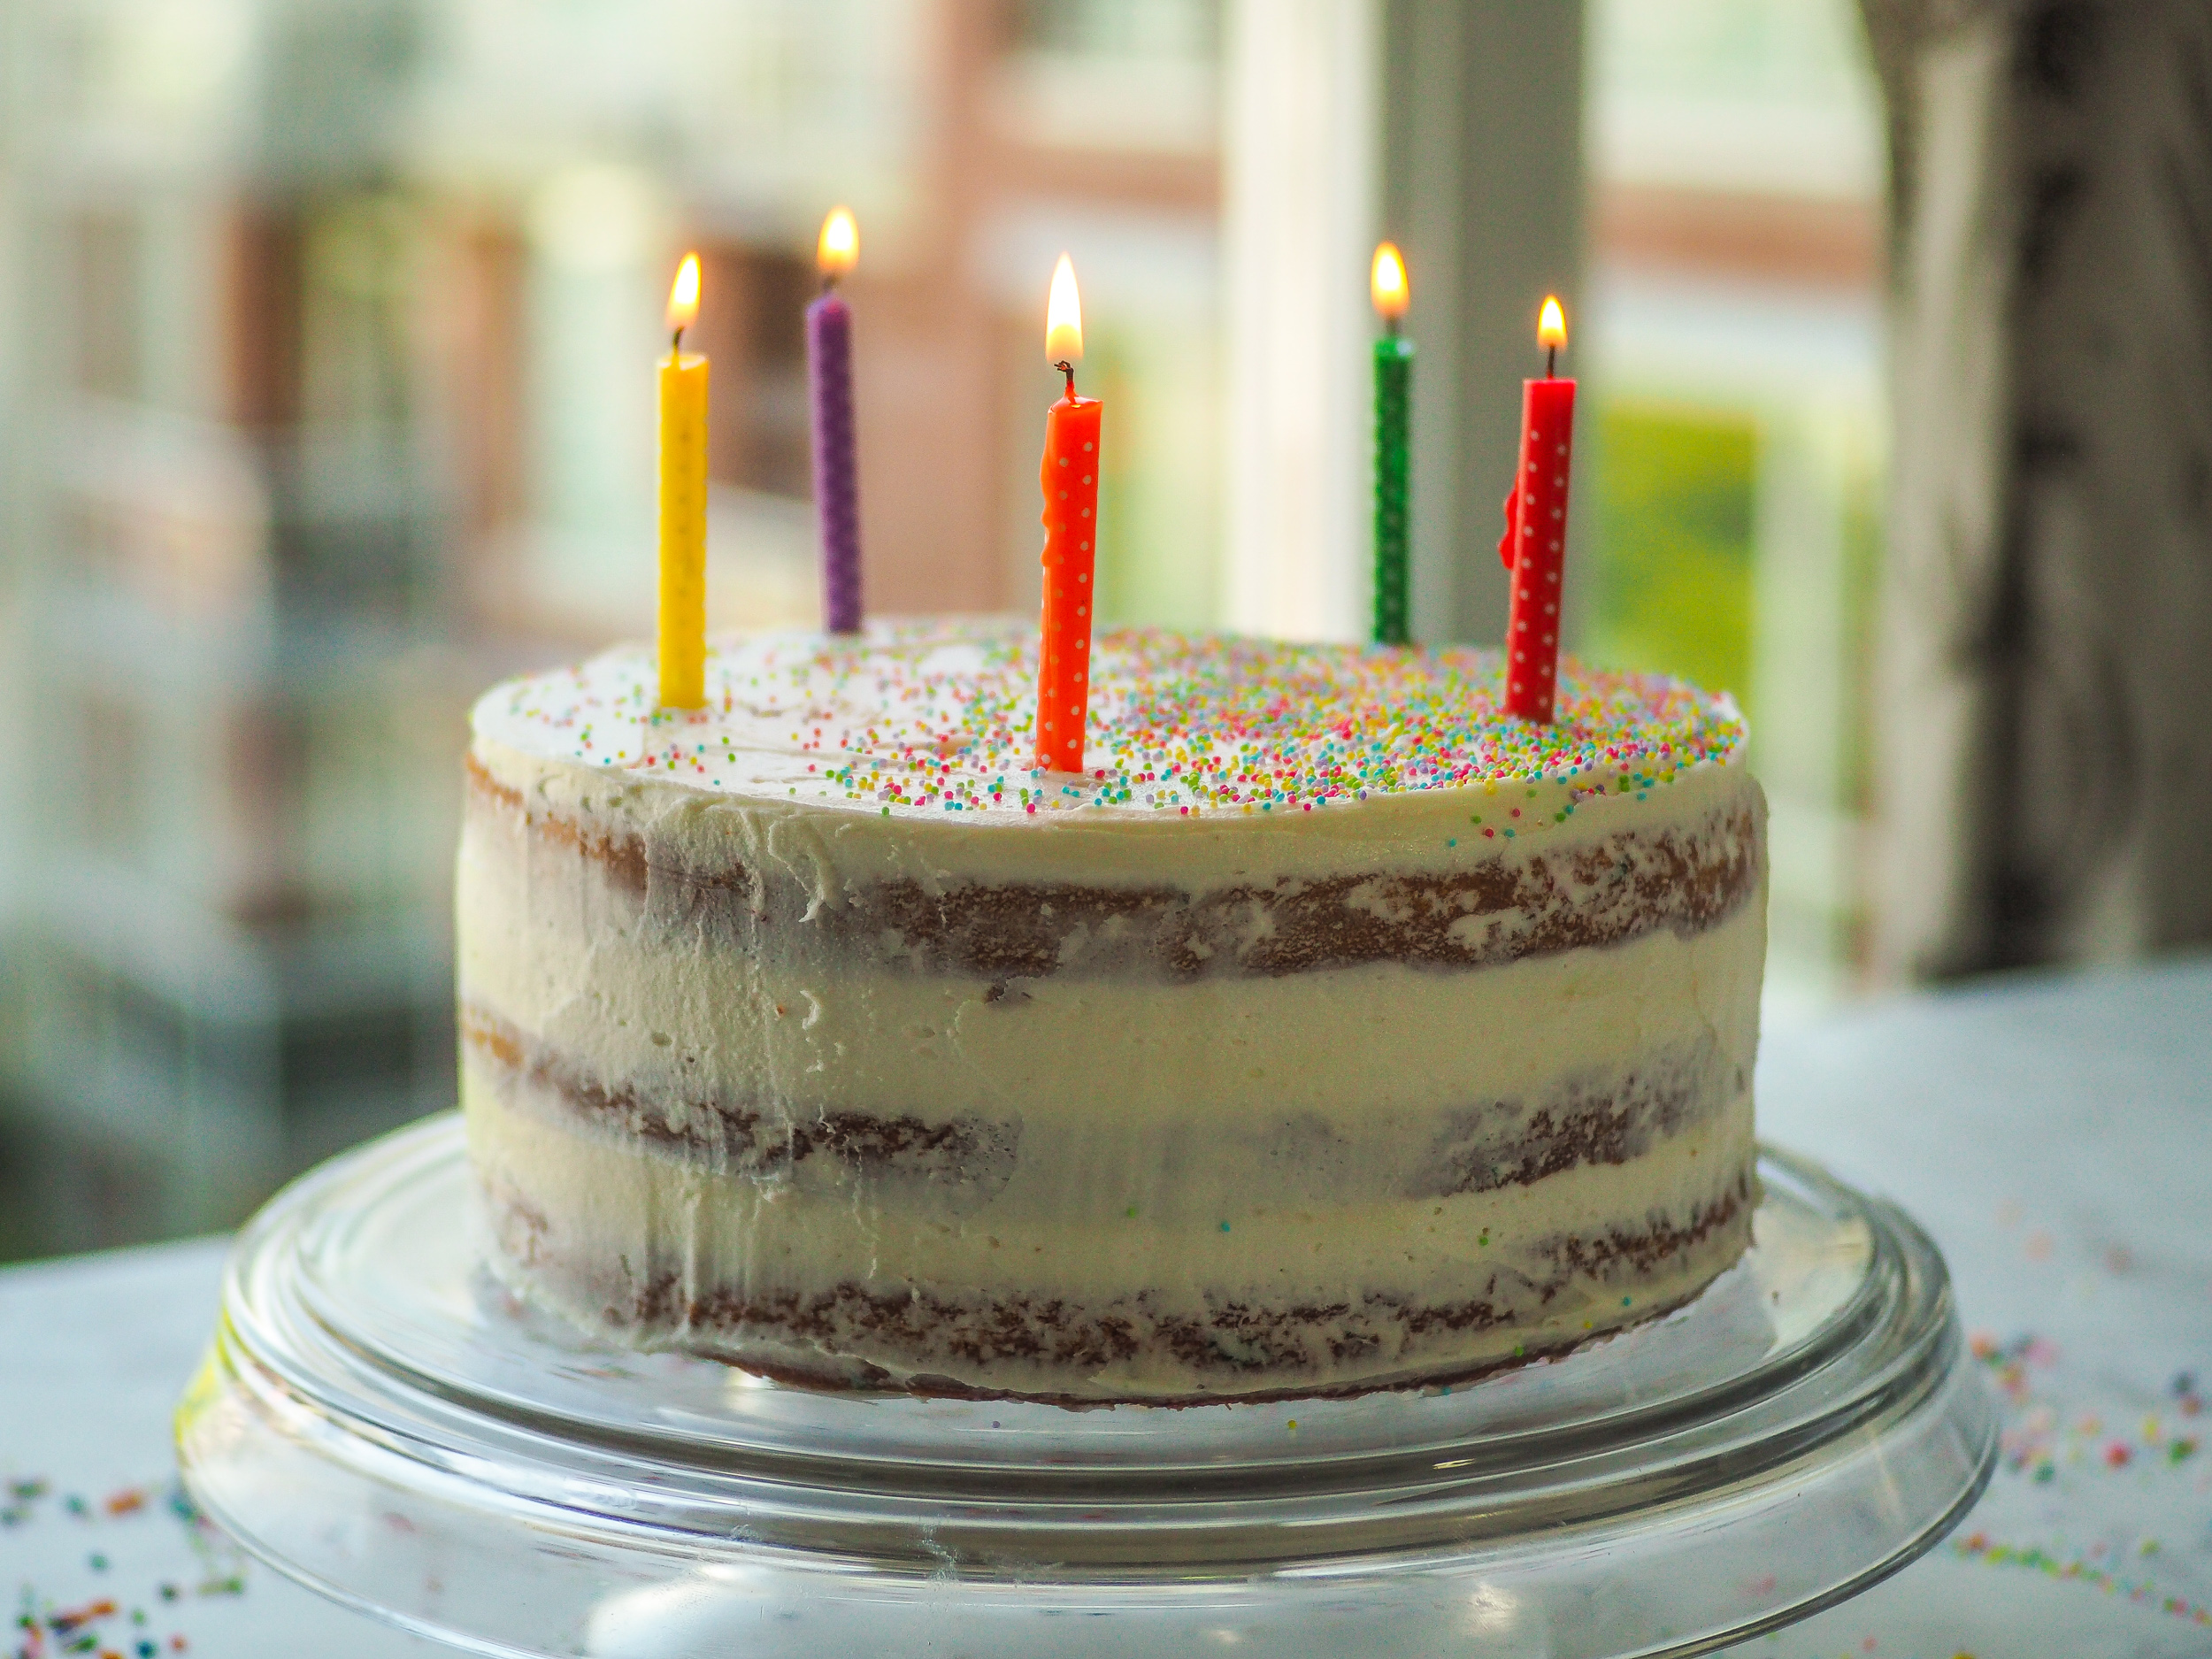
To me, this is the quintessential birthday cake – sweet and undemanding, yet with enough sprinkles to undeniably signal that celebration is afoot. An appealing version of the icing-laden sheet cakes that get sung over amidst office birthday celebrations, if you will. The birthday cake that birthday cake-flavoured ice cream wishes it could be (but never will – don’t be fooled). It is absolutely perfect for children, though I mostly fed the remains to a group of heavy-duty runners who need carbs and sugar in order to survive and that was also a successful demographic.
White cake, such as this one, is labeled thusly because the use of egg whites alone (no yolks) results in a much paler batter than that of a yellow cake. It has a delicately tender crumb that does its best work on the day it’s been made, as the lack of egg yolks means that white cake goes stale more quickly than does yellow or chocolate cake (literally the only time whites have had it harder). So…basically I’m giving you permission to binge eat as much of this cake on day #1 as needed. Godspeed.
Confetti Cake
Scaled up directly from Deb Perelman (Smitten Kitchen)
Serves 12
Ingredients:
Cake:
1 ½ cups (3 sticks) unsalted butter, room temperature + more for greasing pans
2 cups white sugar
1 ½ tsp kosher salt
6 large egg whites
1 ½ tsp vanilla
1 ½ cups buttermilk
3 tsp baking powder
6 tbsp cornstarch
3 cups all-purpose flour
¾ cups rainbow sprinkles (the longer “vermicelli” kind, not the little round dots – those I used only for decorating)
Icing + Assembly:
2 cups (4 sticks) unsalted butter, room temperature
5 cups icing sugar
¼ tsp kosher salt
2 tsp vanilla
4 tbsp milk or cream
Extra sprinkles, for decorating (you can use any kind you like – I went for the ones that are like tiny multi-coloured specks)
Directions:
Preheat the oven to 350 degrees F, with a rack positioned in the middle. Dig out your cake pans (9-inch round ones – most people who own these have a set of 2, which just means re-using 1 of them once the first 2 cakes are done baking as this is a 3-layer cake). Trace around the base of the pans onto a sheet of parchment paper and cut out the circles, fitting them neatly into the bottom of your cake pans as a liner. Liberally grease the sides and lined bottom of the pan using butter or non-stick spray. Assuming you only have 2 pans and will be re-using 1 of them, you will need to re-do this process for the third cake layer once the time comes.
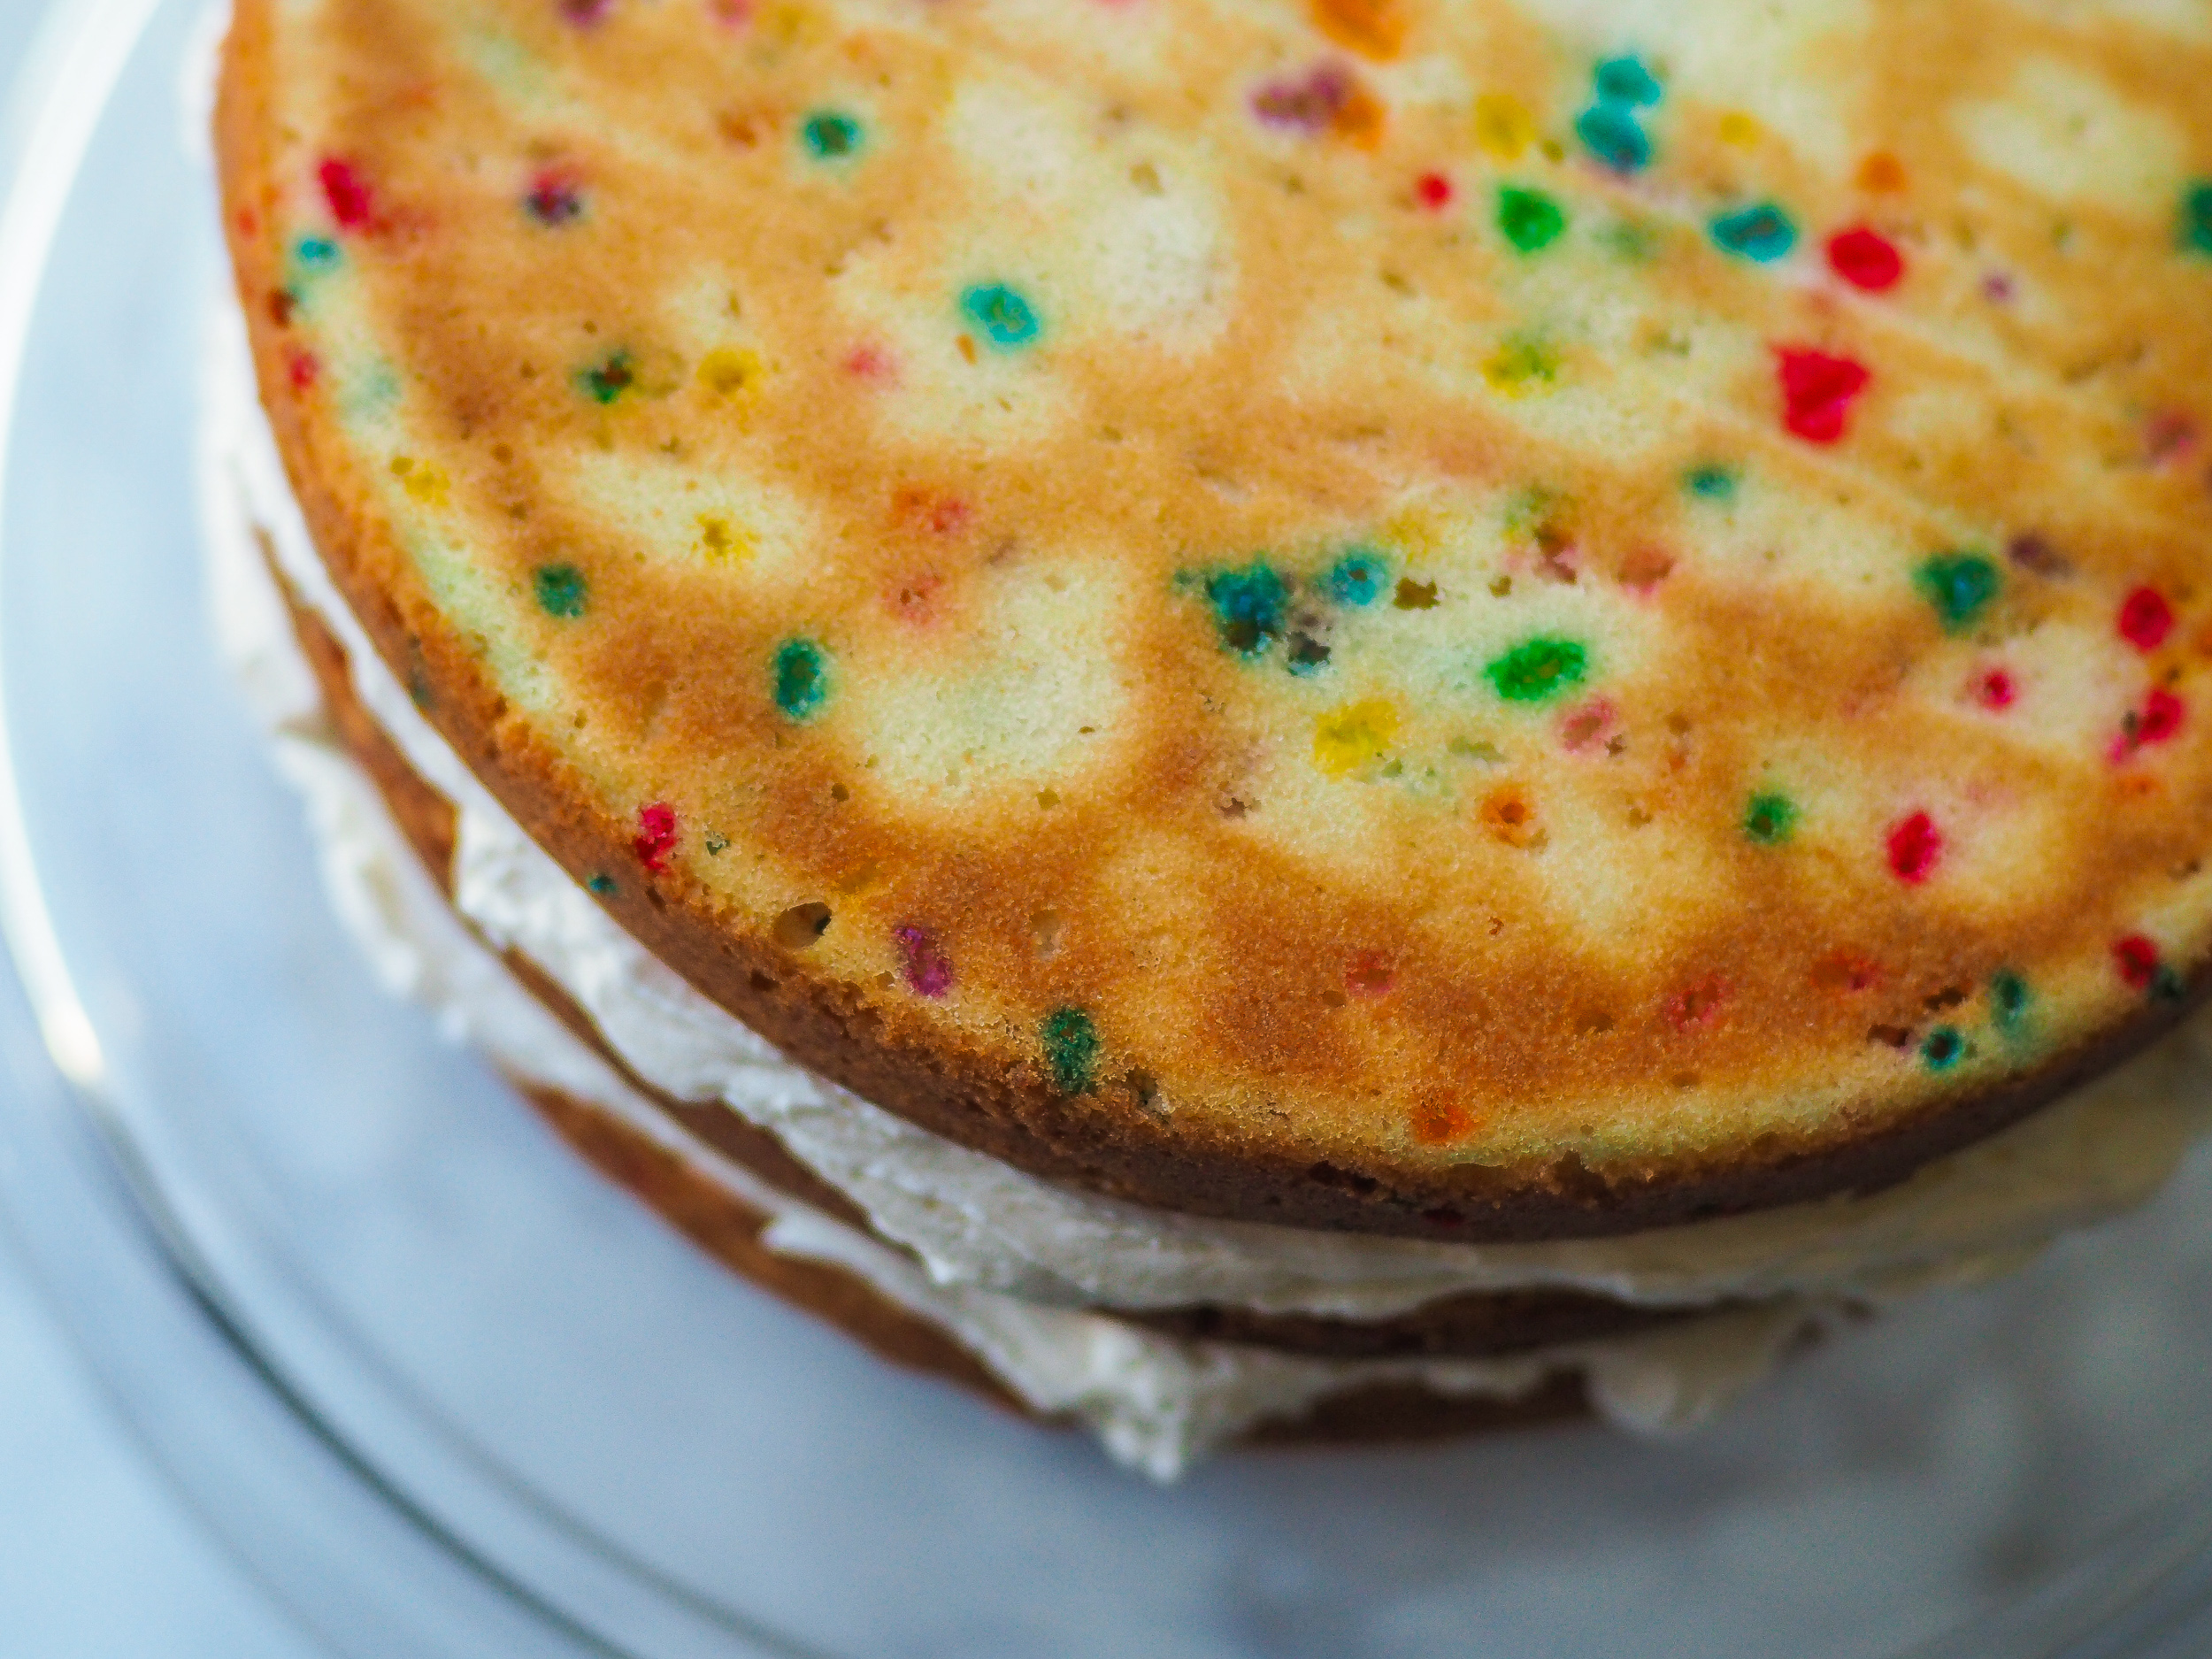
Make the cake batter by beating the butter, sugar, and salt together in a medium bowl using either electric beaters or a stand mixer. Beat until fluffy, ~2 minutes. Scrape down the sides and bottom of the bowl with a rubber spatula before beating in the egg whites one at a time (this is hard to do if you haven’t placed each egg white in its own bowl – a fool’s game, if you ask me – so just try to add in the egg whites in 6 small “pours”). Keep beating until all of the egg whites have been incorporated into the batter. Add the vanilla and buttermilk, beating to combine. The batter will likely look like a disaster at this point – probably curdled and lumpy AF – fear not, this is normal, power through! Add in the baking powder and cornstarch, beating well to combine. Scrape down the sides and bottom of the bowl again then beat for another 2 seconds. Add in the flour and mix on low until it just vanishes into the batter (you can even finish the mixing with a spoon if you worry about over-mixing). Use your trusty rubber spatula to gently fold in the rainbow sprinkles. Mix the sprinkles as minimally as possible to avoid excess “bleeding”.
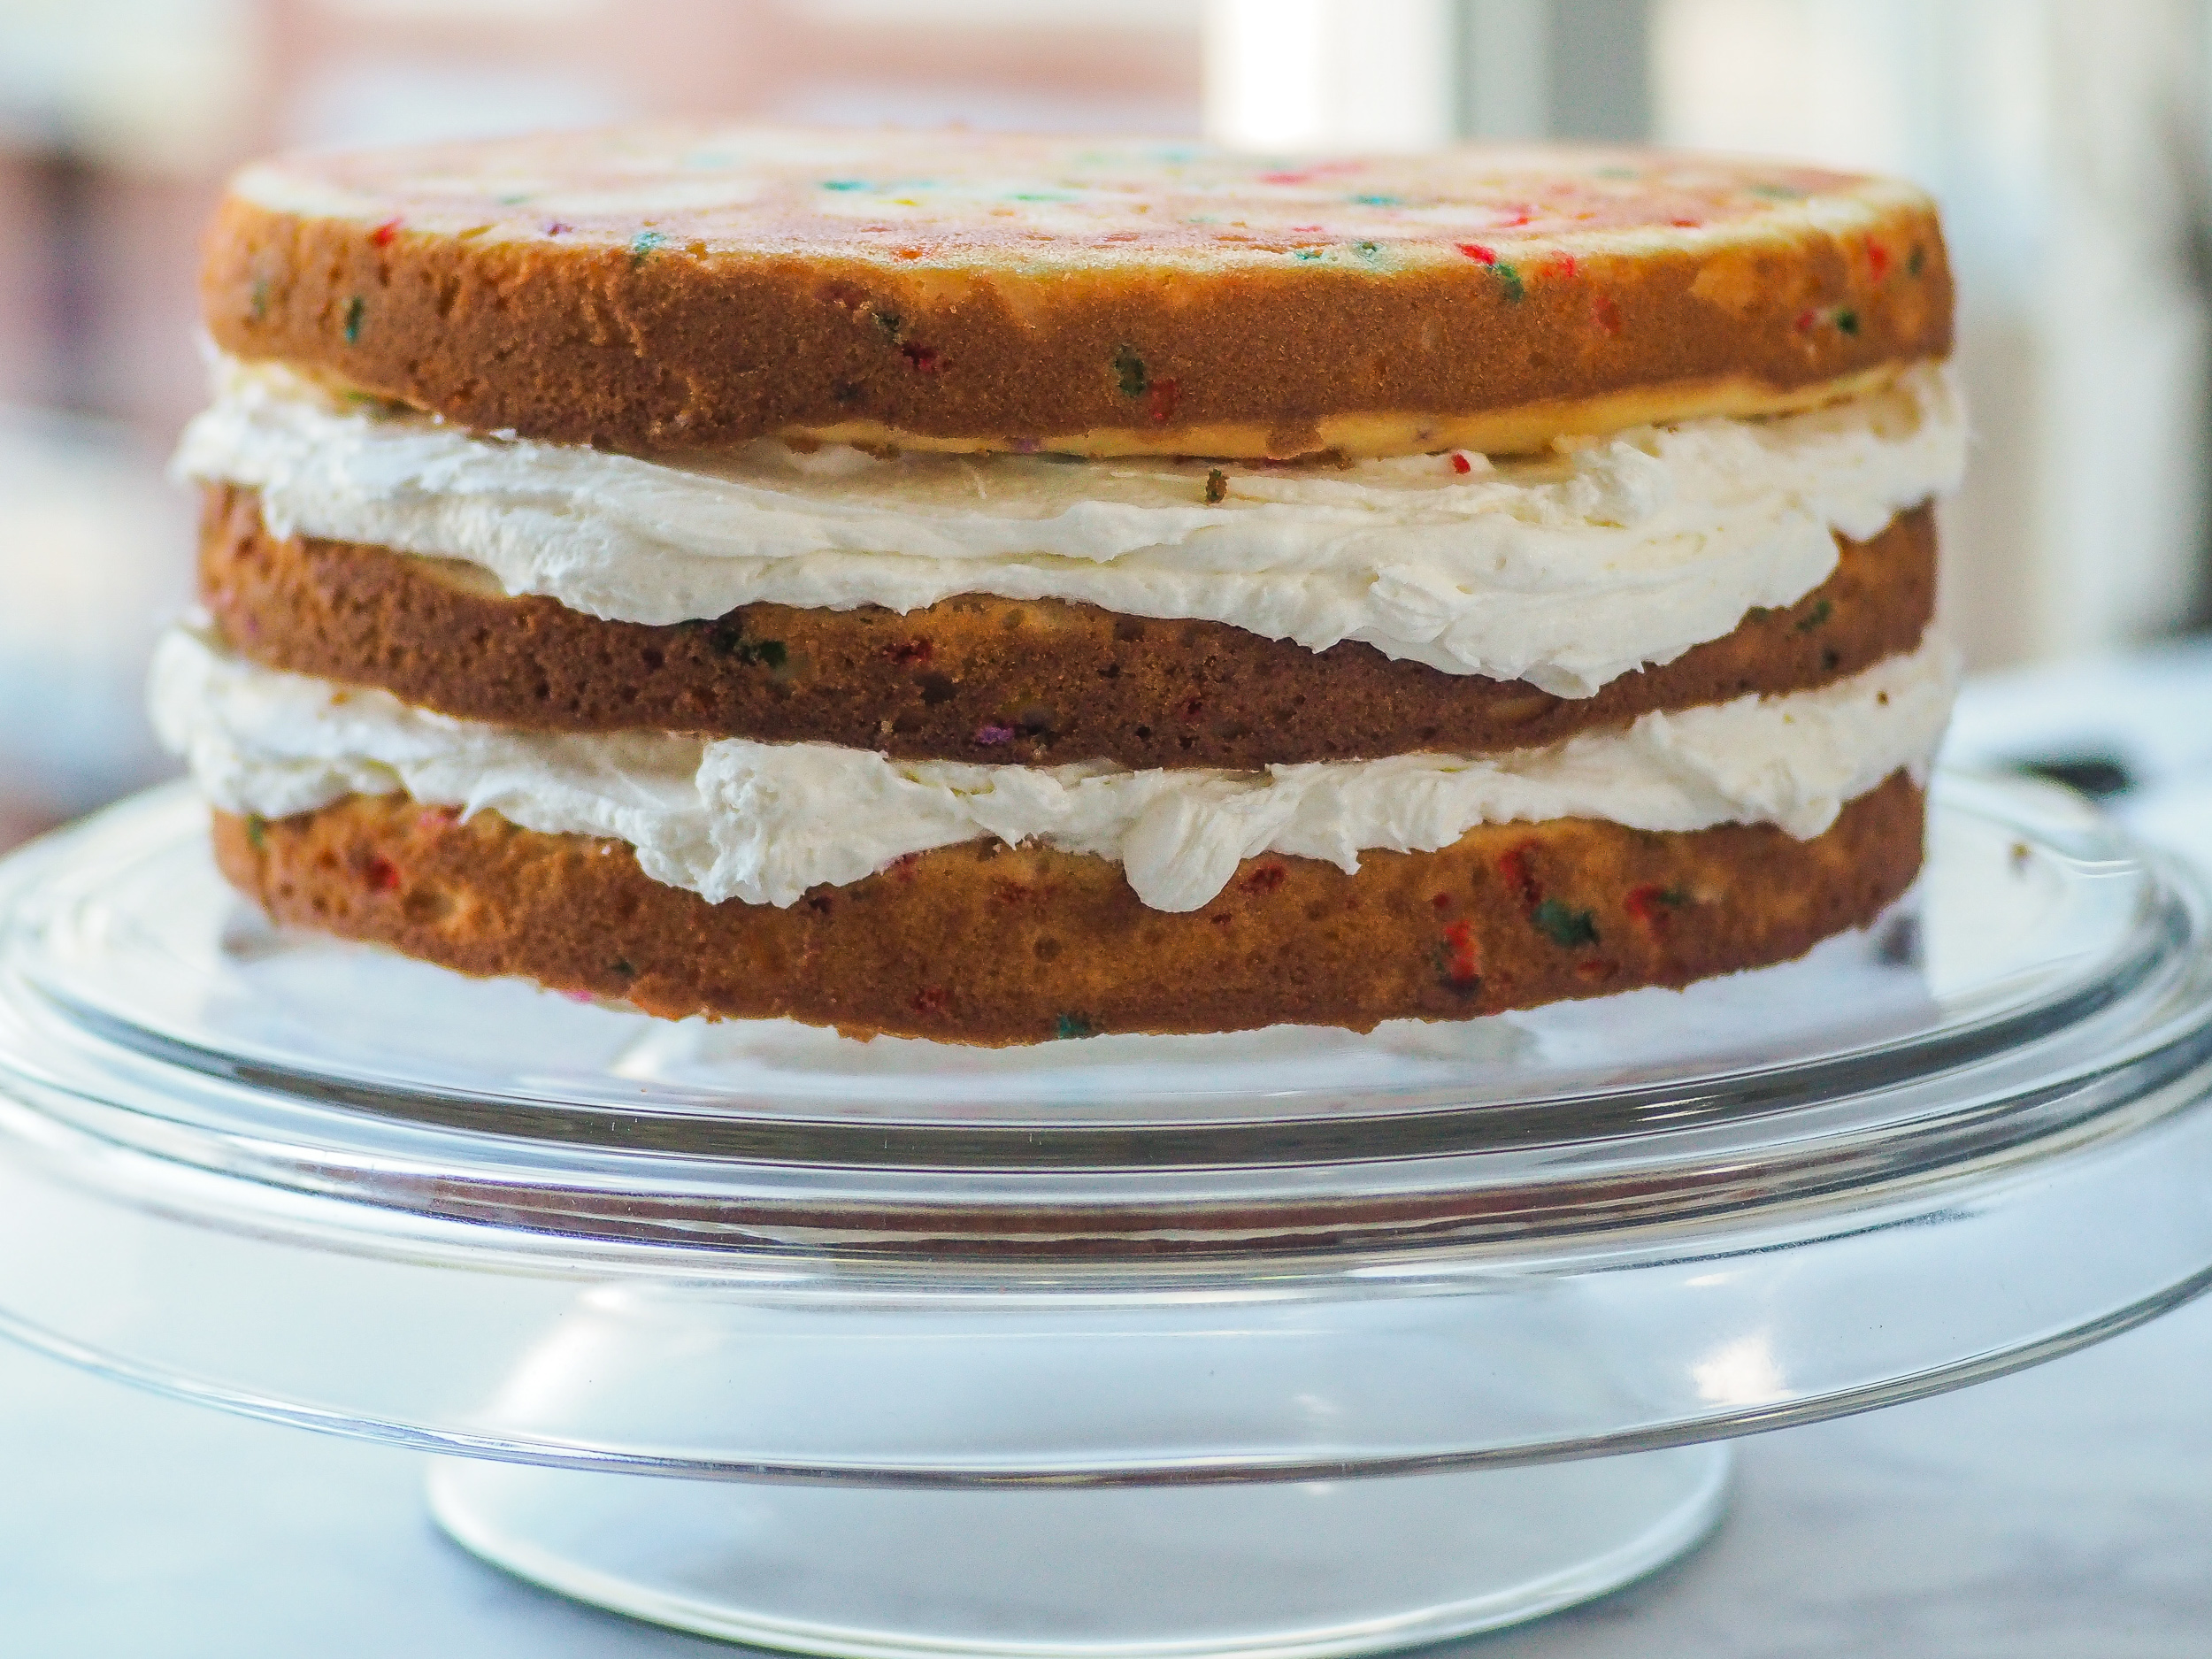
Evenly divide the batter among the 3 prepared cake pans (or divide 2/3 of it among the 2 prepared pans, reserving the final 1/3 for when the first 2 cakes are baked and removed from the pans). If you are bad at eyeballing equal portions, you can always use a ¼ or ½ cup scoop to help evenly distribute the batter amongst your pans (e.g. do ½ cup into 1 pan, then ½ cup into the next, then ½ cup into last pan or into a separate bowl that will hold the waiting batter for the third cake, then keep going until you run out of batter). Ensure that the batter distributes itself evenly within the pan, and use a knife to smooth out the top. Bake for 18-22 minutes, rotating from front-to-back and left-to-right about halfway through baking, or until a toothpick inserted into the centre of each cake comes out clean or crumby (not wet). I found that 19 minutes was perfect for my cakes and would not have wanted them in for much longer as white cakes can dry out pretty quickly due to the lack of rich fatty egg yolks. Set the cake pans on a wire rack to cool for 5 minutes, then run a butter knife around the edges to loosen the cakes. Invert the cakes onto the wire rack and carefully peel off the parchment paper circles. Cool the cakes completely. If you are using one of the just-used cake pans to make the third layer, wash and dry the pan before lining, greasing, filling, and baking. Cool and invert as instructed above.
While the cakes cool, make the icing by beating together the butter, icing sugar, salt, and vanilla together in a large bowl using electric beaters or a stand mixer. It may help to start on low speed and gradually increase, as the initial rotations can cause a massive cloud of icing sugar to rise up. Beat until very fluffy, then add milk/cream and beat until completely smooth. Set aside until ready to ice.
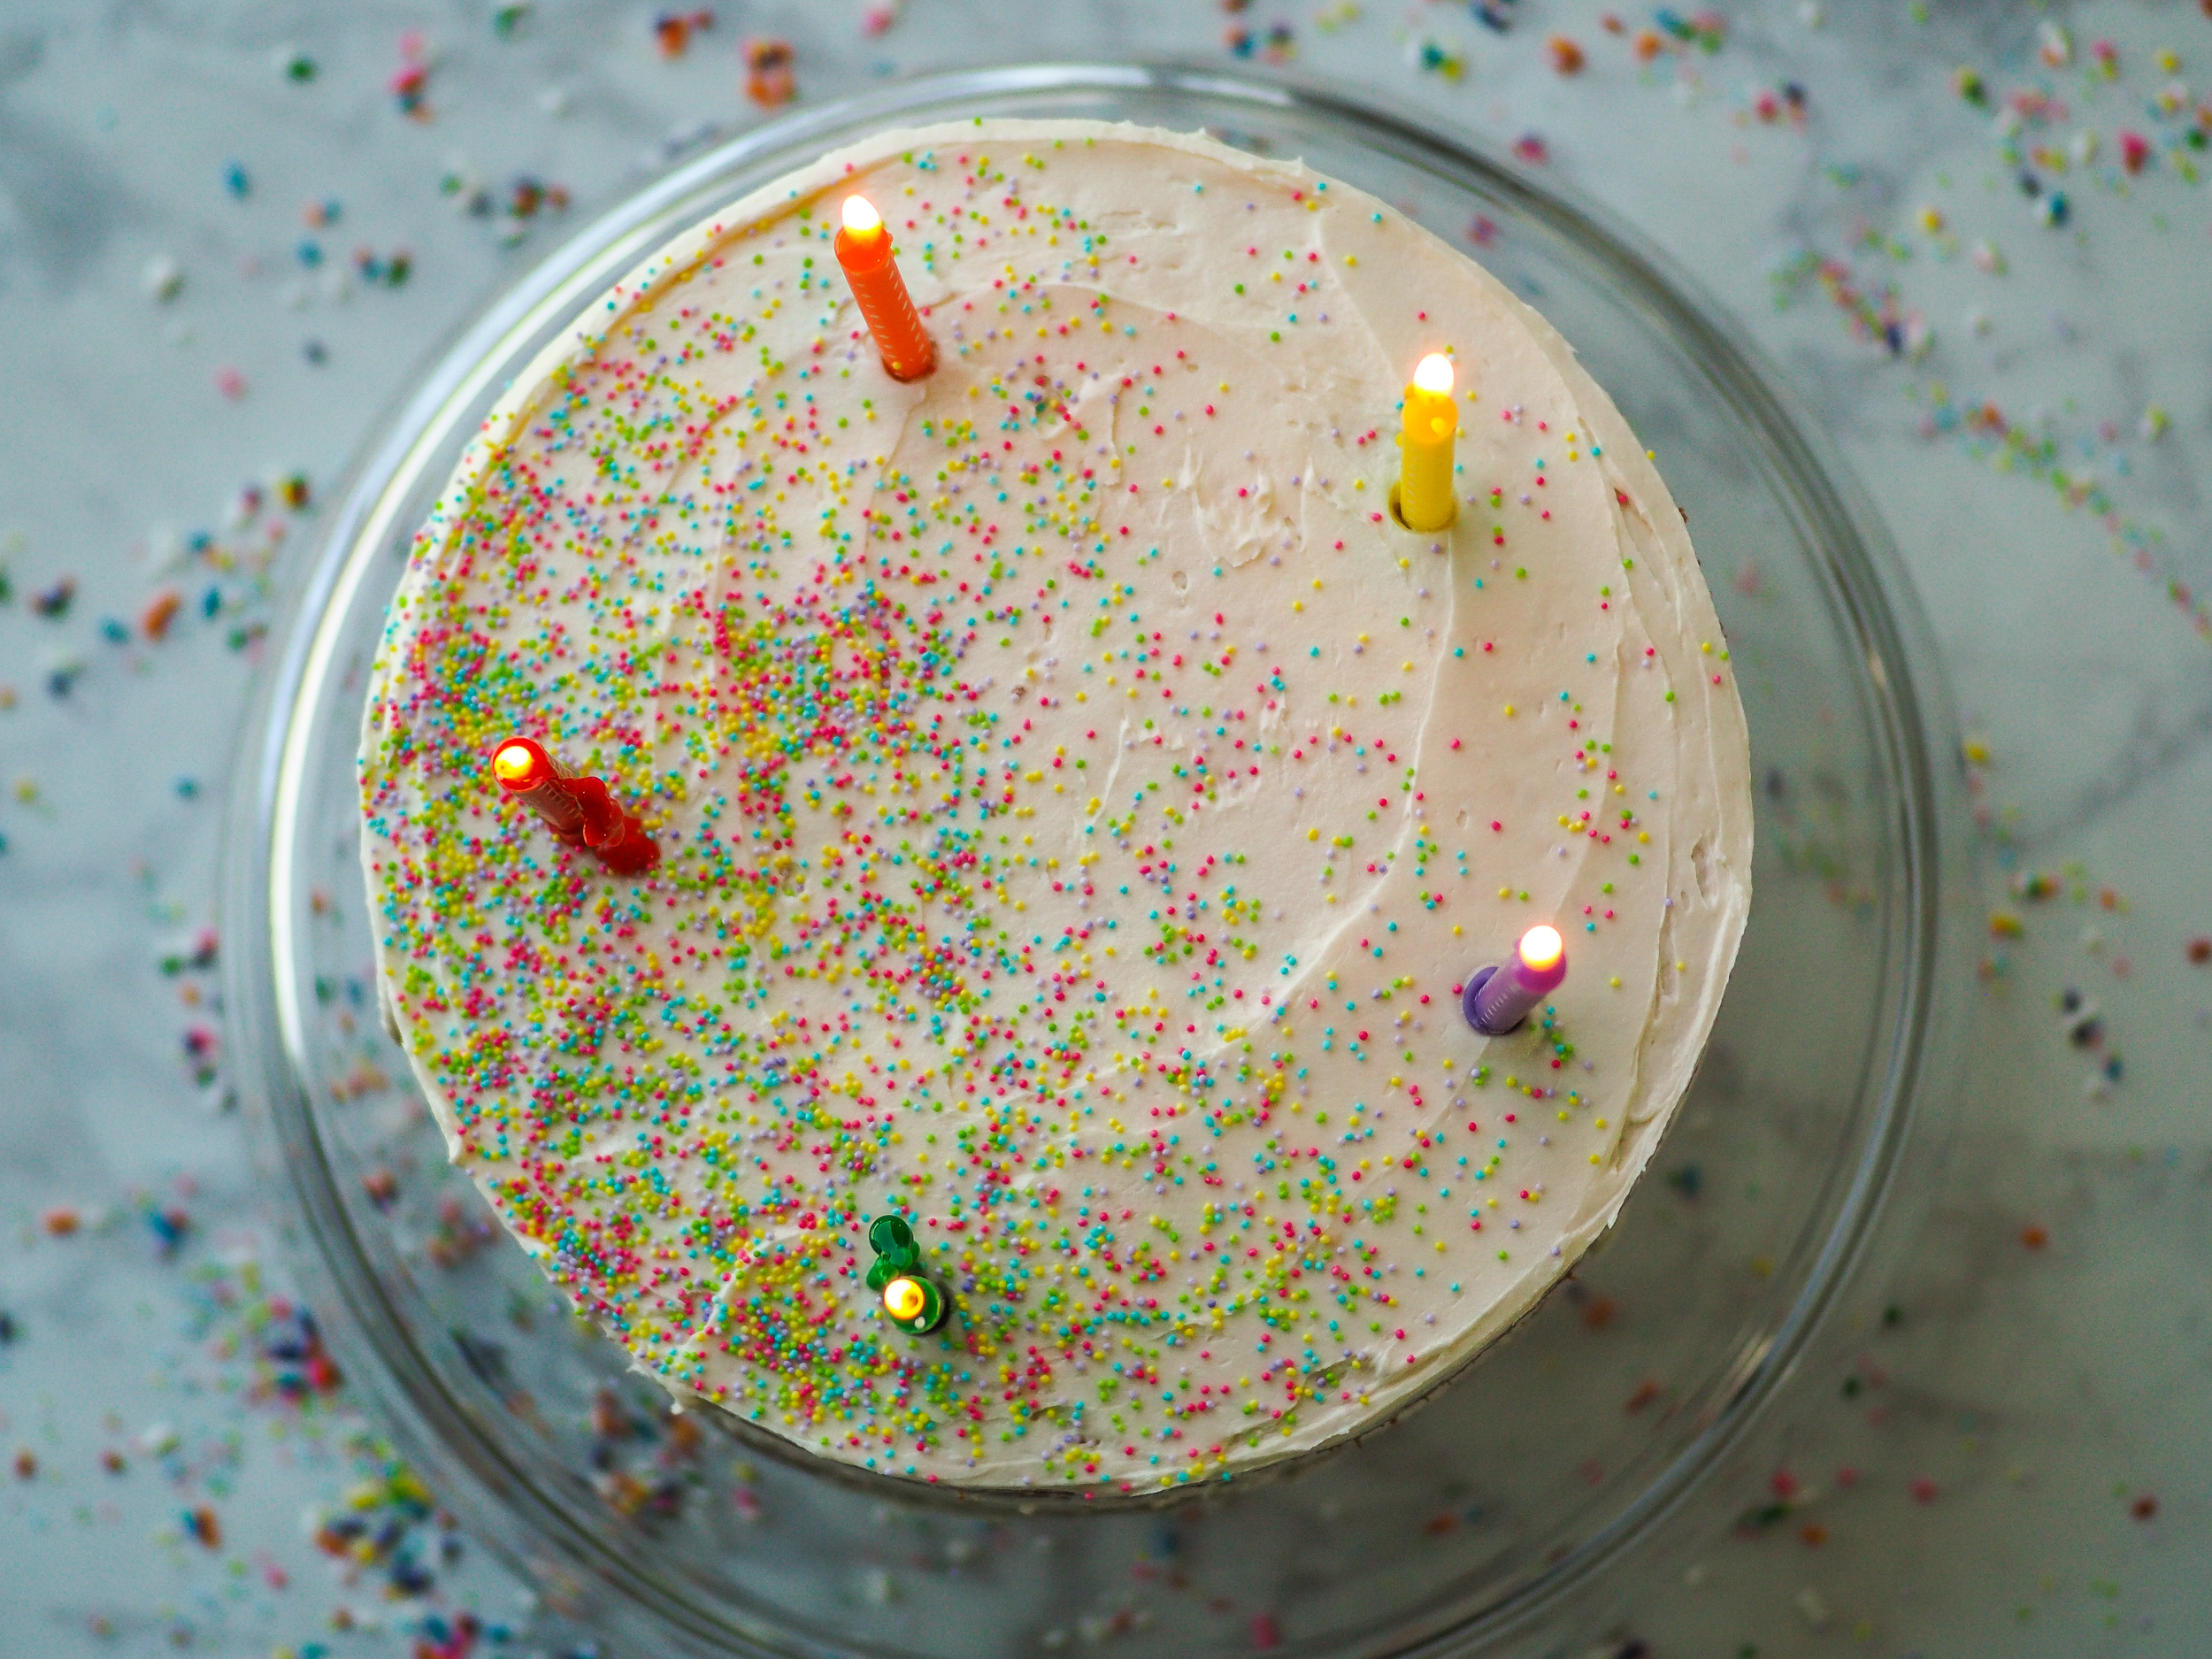
Once the cakes are cool I like to give them a light brushing with my hands so that any excess loose crumbs fall off as this will give you a tidier icing job. Set the first layer upside-down on your serving dish or cake stand (this ensures that the flatter “bottom” side is facing up, creating a more even surface to ice and set the next layer onto). Spread a thick, even layer of frosting onto the first layer, ensuring that it reaches just past the edges so that the next cake layer will cause it to squish out slightly. Set the next cake on top of the first layer (again upside-down, with the flat side facing up) and repeat the icing process. Set the last layer on top (you guessed it – upside-down) and frost thickly. Use a metal spatula or butter knife to coat the sides of the cake with icing. I did a “naked cake”, which is basically just an excuse to not do a nitpicky frosting job. To do this, I quickly iced the sides of the cake and then used the blade of my metal spatula (or knife) to “scrape” all around the side in a circular movement, creating a very thin coating of icing and revealing the layers of the cake. There are many many many YouTube tutorials hosted by women with names like Faith and Ashlee if you want more information on icing a naked cake (though the point is to NOT be a perfectionist about your icing and embrace the rustic style of it). Scatter the top of the cake with a liberal amount of sprinkles – the more colours, the better. I did kind of a faded look, concentrating a lot of sprinkles on part of the cake, then getting less and less generous as a moved toward the opposite side. I chose to not decorate the sides of the cake, but if you enjoy trying to defy gravity by getting sprinkles to stick onto a vertical surface, be my guest. Keep the cake tented under plastic (or ideally the cover of your cake stand) until ready to serve, at which point you should sit back and enjoy the childlike enthusiasm that your guests will exhibit when presented with a cake comprised of mostly sugar and more sugar.
