Blueberry Galette


Galette is pie for dummies. And by dummies, I mean perfectly smart, capable people who haven’t figured out how to add pastry-making to their list of accomplishments.
It’s the gateway pastry that makes you think, well, that wasn’t so bad, I could probably try my hand at a whole pie now, and before you know it it’s 30 degrees outside and you’re shuttered away like a hermit making intricately-latticed pies and writing inscrutable notes in a journal covered in buttery fingerprints. Or that might have just been my trajectory. Hard to say.
The galette owes its laidback reputation to the free-wheeling form that it can take while still looking like something that an adult human made. You literally just roll it out, plop everything in the middle, then fold up the edges and bake it. Boom, done. No delicate transfer over to a pie dish, no complicated lattice work that makes you feel like you were born with 10 breakfast sausages protruding from your hands instead of actual fingers. Plus the great thing about food that constantly gets described as “rustic” is that if it actually kind of looks like shit nobody can say boo. And even the most rustic of galettes look irresistible emerging from the oven all burnished and bubbling.
So go ahead, push that pastry gateway open just an inch. There’s a warm galette beckoning you like a siren song just behind the door.

Blueberry Galette
Adapted from Lucy Waverman (The Globe and Mail)
Makes 1 large galette or 6-8 small galettes (both variations serve ~ 6-8 people)
Ingredients:
Crust:
2 cups all-purpose flour (measured correctly) + more for dusting
½ tsp salt
¾ cup (1 ½ sticks) cold unsalted butter, cut into ½-inch cubes and chilled
2 tbsp fresh lemon juice
Filling and Assembly:
2 lb (1 kg) fresh blueberries, divided
1/3 cup sugar
½ cup pomegranate or berry juice (I used a pomegranate-blueberry-raspberry juice and it worked fine; the main thing is to get a darker, berry-ish juice)
1 tbsp tapioca flour (this is actually very easy to find – it’s usually in the baking aisle but is also sold in many Asian grocery stores)
1 egg yolk
1 tbsp whipping (heavy) cream
Directions:
Start by making the crust. Fill a liquid measuring cup with ice water and set in the fridge until ready to use. In a large bowl (preferably a wide one that is not made of metal) combine the flour and salt. Sprinkle the cold cubes of butter over the flour mixture and start cutting them in using either 2 knives or a pastry cutter. Continually clean off the knives or pastry cutter to avoid butter build up. Constantly scoop and redistribute the mixture as needed to ensure that everything is getting mixed in and cut up evenly. When the butter is the size of small beans, stop cutting. This won’t take as long as you think, and quite frankly it is MUCH better to stop cutting too early than too late. The butter “beans” will inevitably look uneven and this is okay. Just make sure you don’t have any pieces bigger than the diameter of a dime. If I see quite a few bigger chunks amidst the otherwise adequate butter pieces, I will sometimes get in there with my hands (which I have run under very cold water and dried off) and just quickly rub the big pieces between my fingers to break them up.
In a measuring cup, combine the lemon juice with ¼ cup reserved ice water (minus the ice, duh). Drizzle the liquid over the floury butter and incorporate using a fork. You can add a little more cold water, 1 tbsp at a time, if the dough seems too dry to form a ball. The only tricky thing with this dough is hitting the Goldilocks zone with the water. Too little and the dough won’t come together well; too much and it will be sticky and shrink up during cooking. As soon as the dough can come together without then falling apart, gather it into a large lump. Wrap the dough in plastic and chill for 30-60 minutes. If the weather is hot or humid, let the dough chill a bit longer and maybe chill your rolling pin as well. Pie loves the cold so try to expose the ingredients/dough to as little warmth as possible.
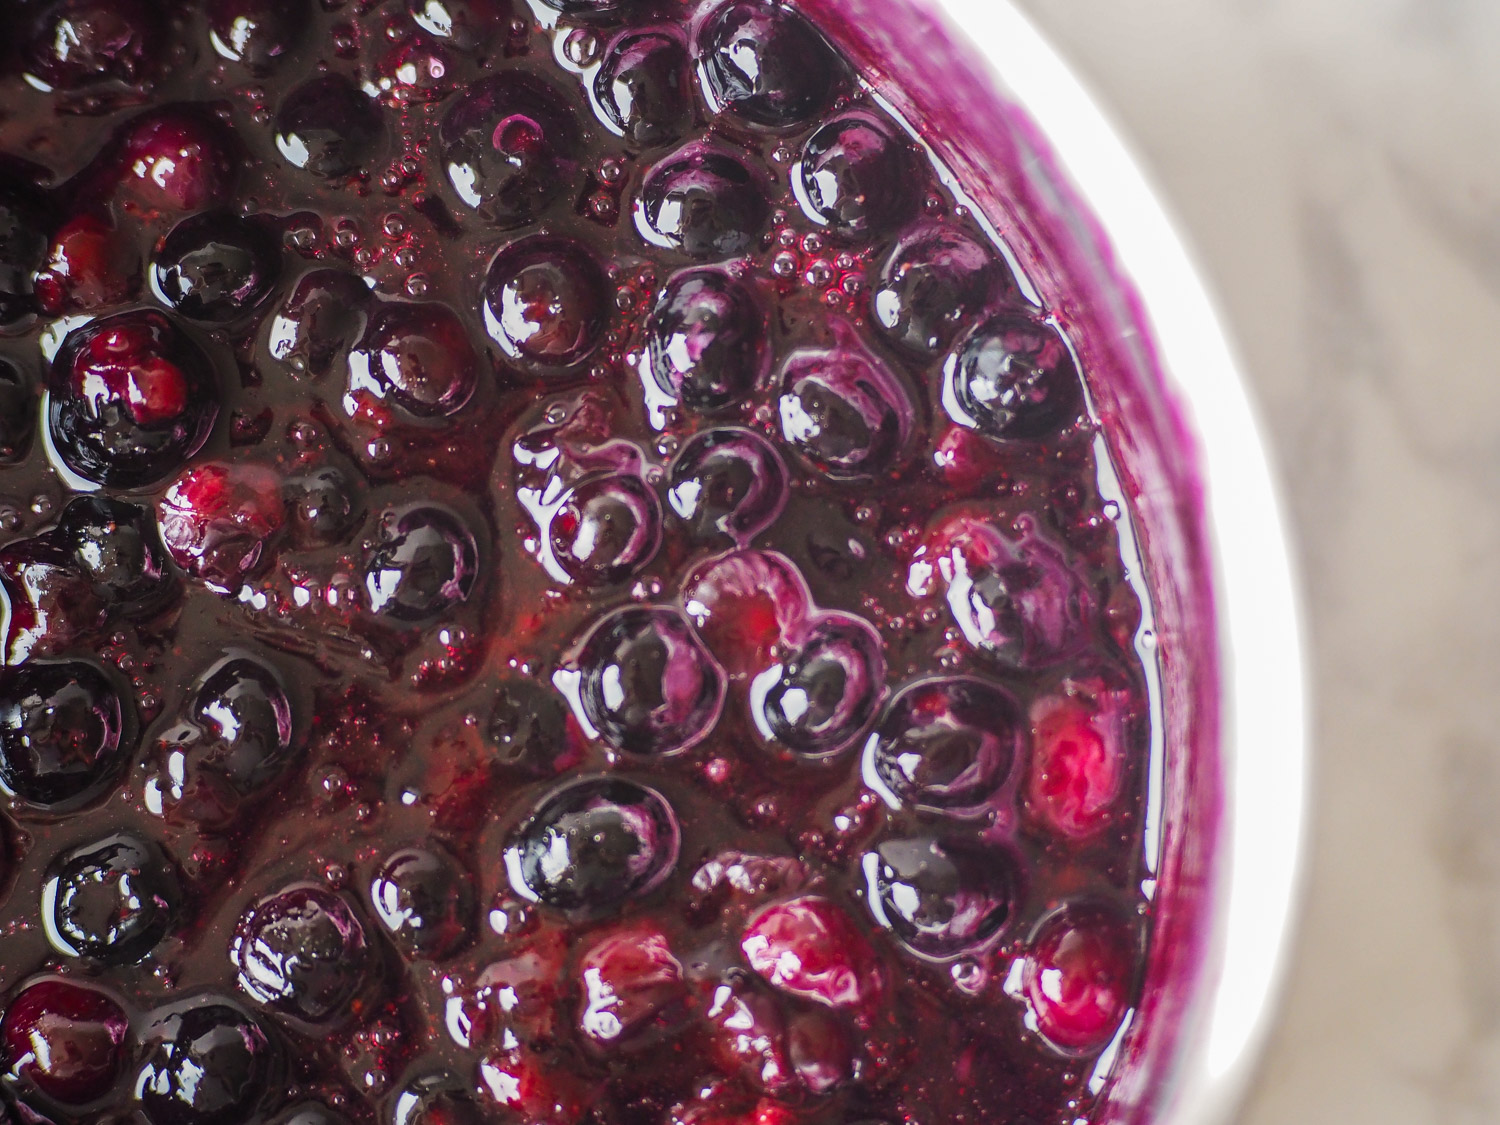
Once the dough is thoroughly chilled, preheat the oven to 400 degrees F and start preparing the filling. In a medium pot set over medium-high heat, combine 1 lb blueberries, sugar, and juice. Bring to a boil and cook for 2 minutes, just until the blueberries begin to soften up. Combine the tapioca flour and 2 tsp water in a small bowl, whisking to remove any lumps. This is called a slurry and it is what will thicken your filling so it doesn’t become too loose or watery. Add the slurry to your cooked berries and cook for another 1-2 minutes. The mixture should appear thick and glossy. If you feel that the filling is too loose (it should be thick enough to not be described as runny, but thin enough to pour), you can make more tapioca-water slurry and stir that in, cooking for another minute or so. Don’t go overboard with the slurries though; things can go from thick and glossy to clumpy and congealed very quickly. Stir the remaining 1 lb of blueberries into the thickened filling. Let cool.
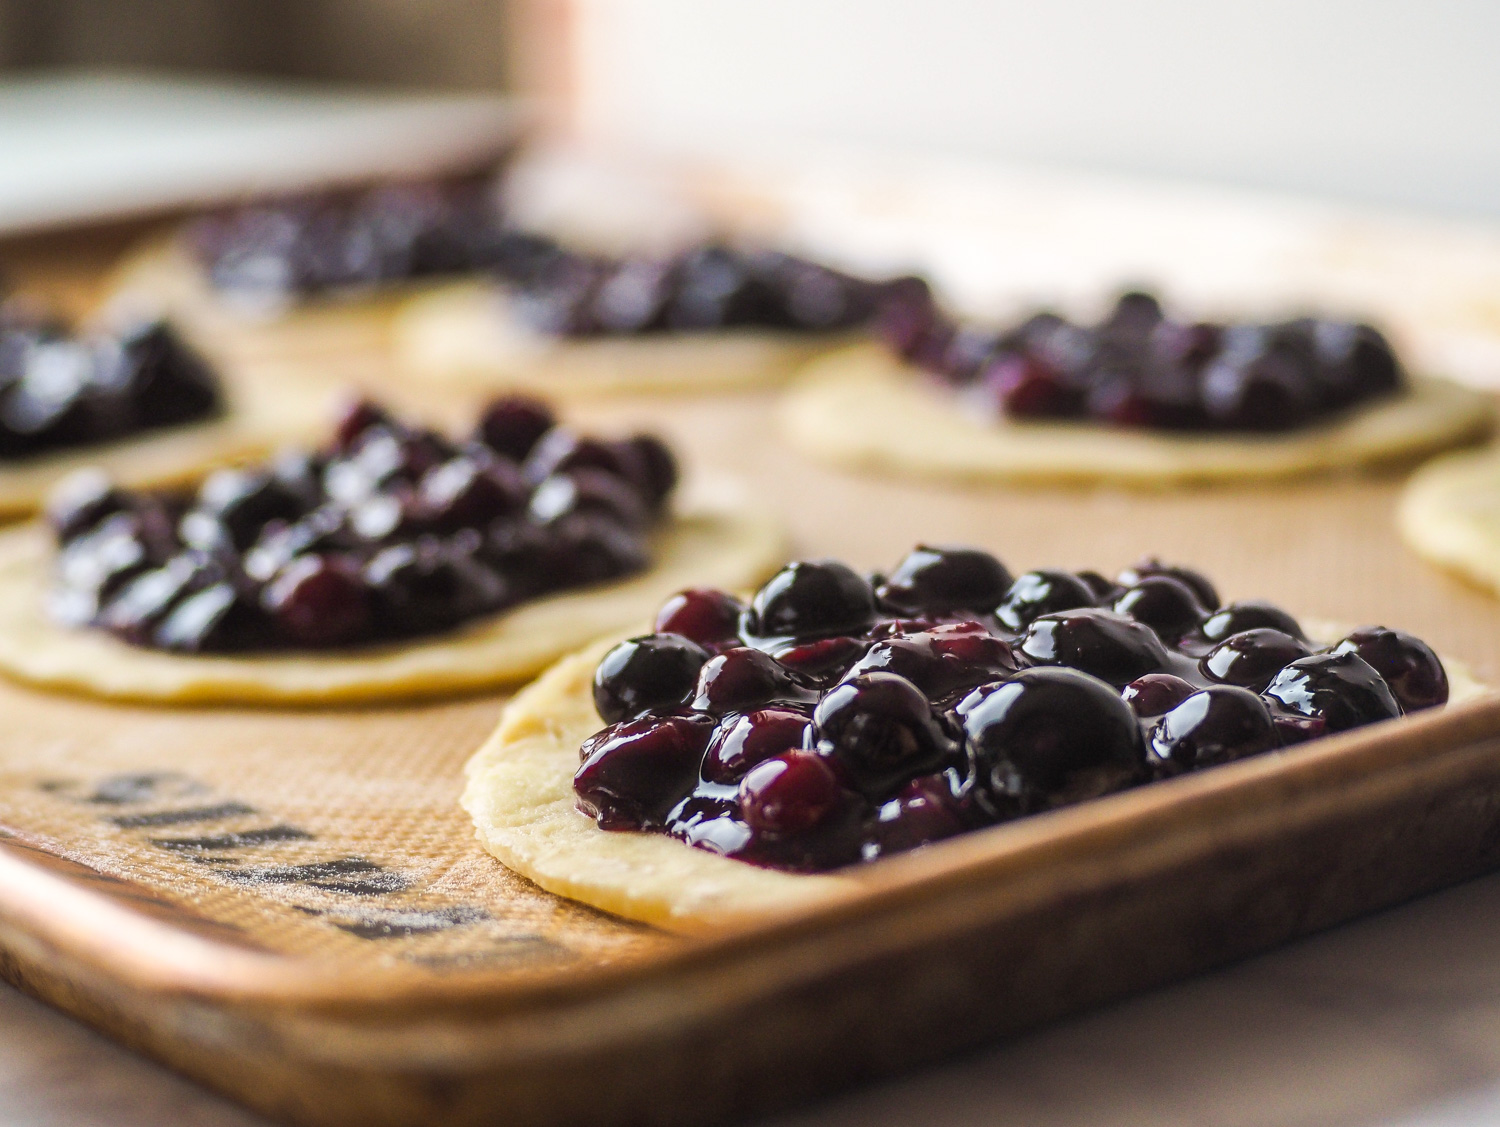
Dust your chilled dough with flour and roll the dough out to a 16-inch (or so) round on a lightly floured work surface. As with all pastry, make it your top priority to handle the dough as gently as possible. Even galettes, the forgivers of the pastry world, become inedibly tough when treated callously. When rolling out pastry, ensure that you’re constantly turning the dough (to avoid parts of it sticking or getting rolled thinner than other areas) and lightly dusting any sticky spots with flour. The great thing about galettes is that they’re supposed to be “freeform” and can therefore be quite misshapen without reflecting on how the end product will look. At this point you can either cut a large (15-inch or so) circle and transfer it to a large lined baking sheet or cut small, individual galettes from the dough and transfer those to the baking sheet. The individual circles should be about 5 inches wide. I find it easiest to cut circles using a large cookie cutter or any item in your house that can function as a stencil for cutting around. Although the individual galettes are not so much more difficult than a large galette, I would recommend doing the latter one if this is your first time working with homemade pastry. There are just slightly fewer opportunities for error.
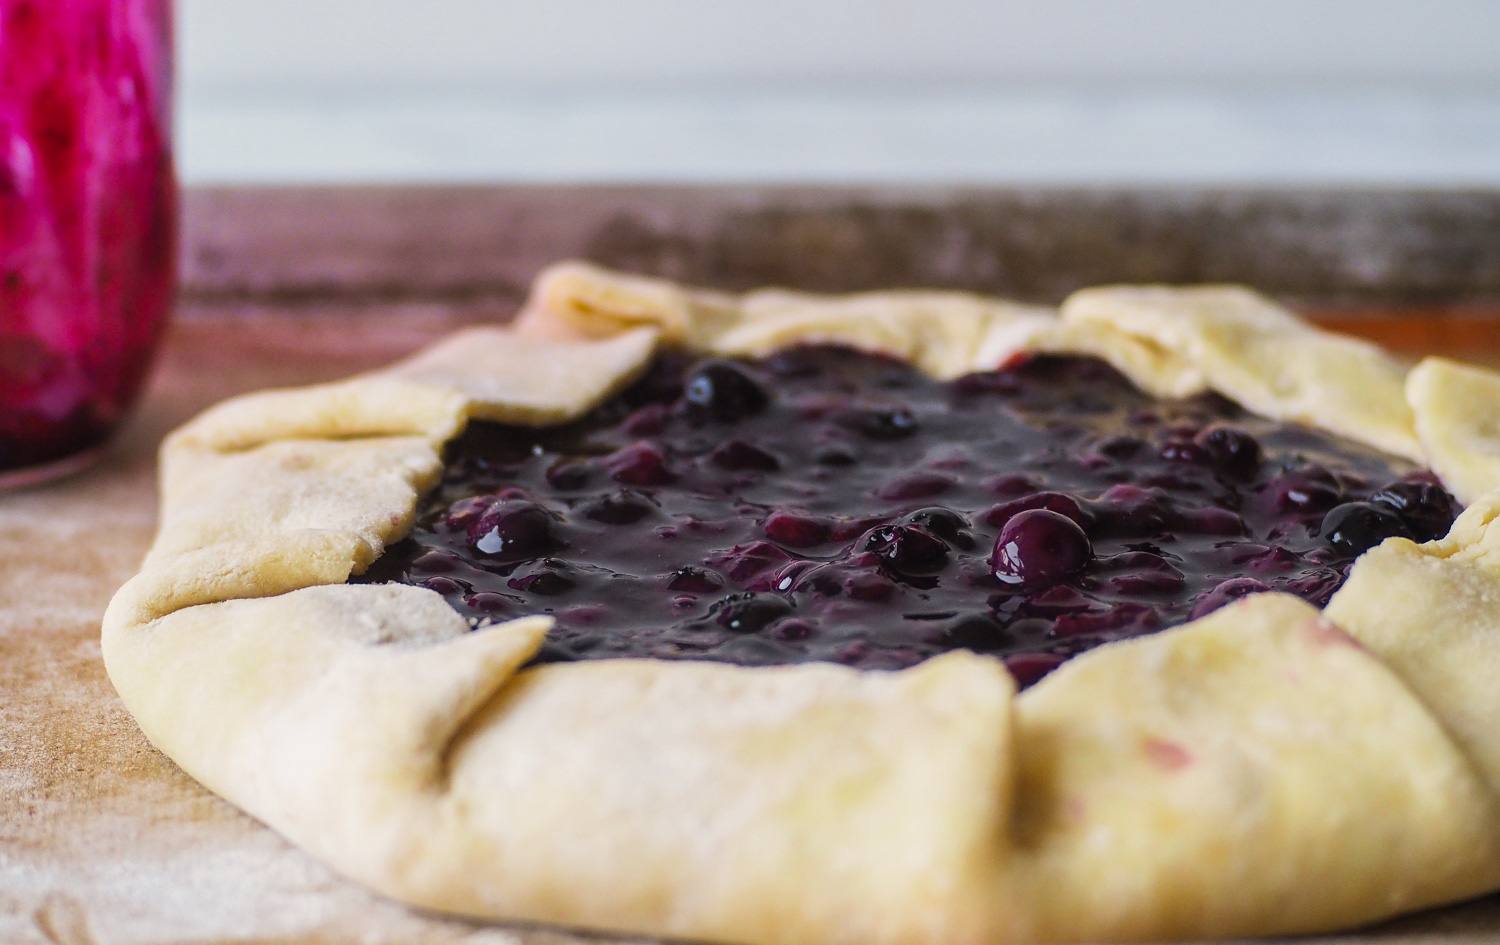
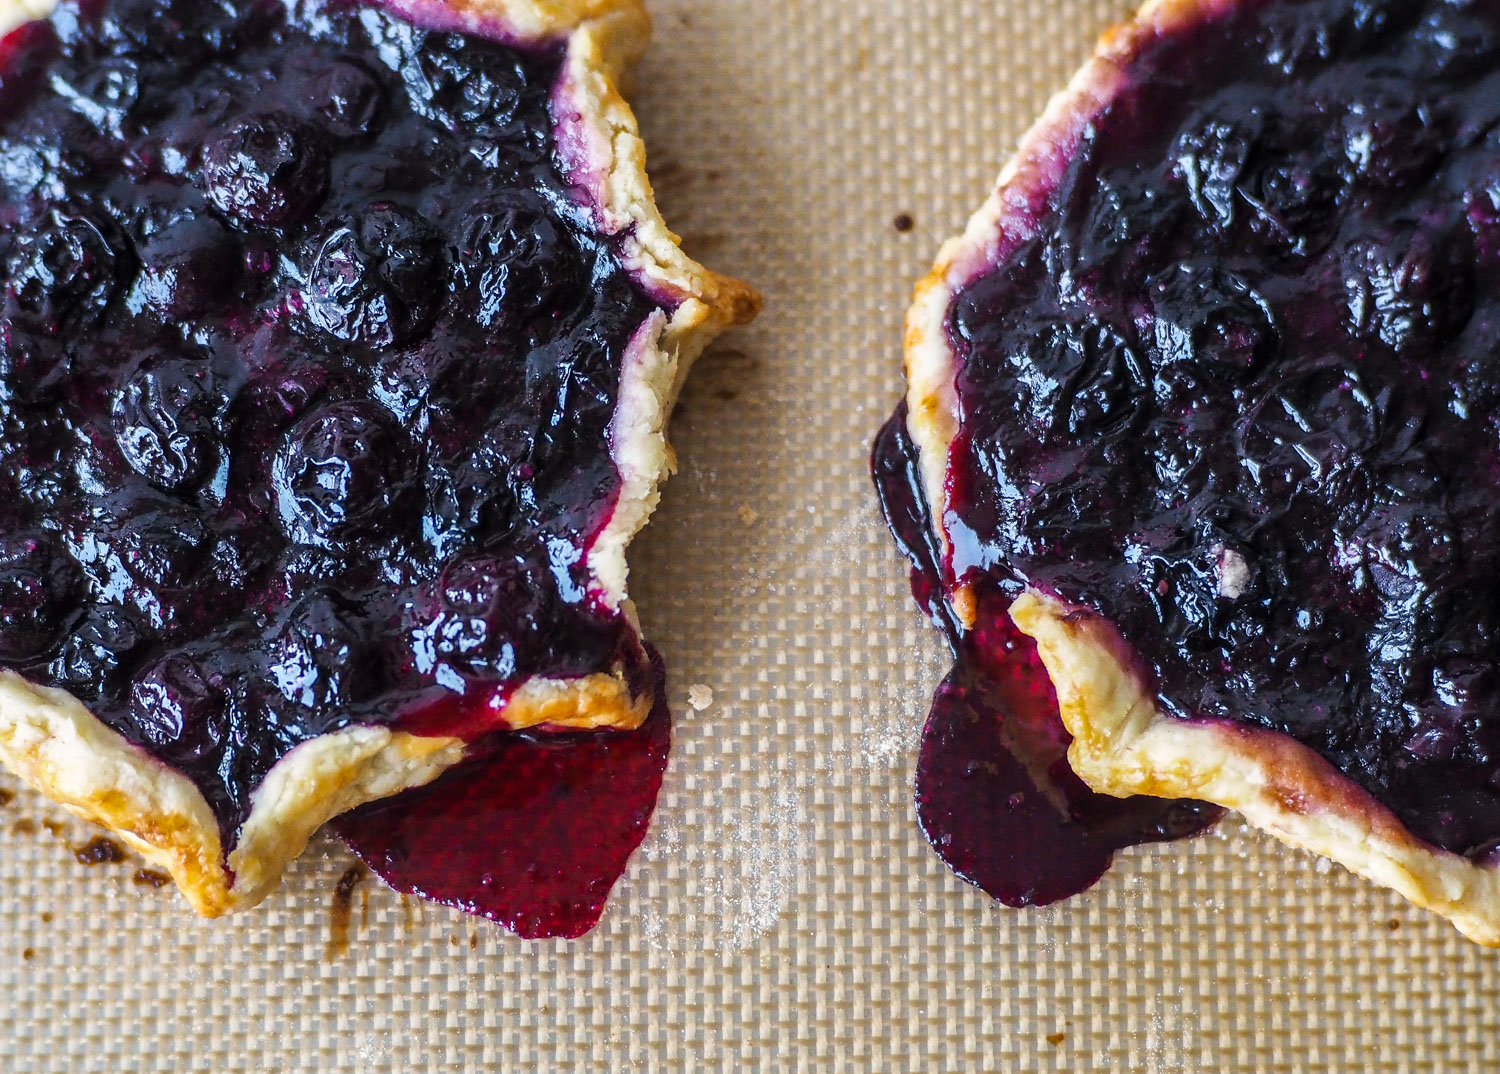
Right, now your dough circle(s) should at this point be arranged on a large lined baking sheet. If making a large galette, pour the cooled blueberry filling into the centre of the dough and spread it out to cover most of the circle, leaving a 1 ½-inch edge all the way around. If making individual galettes, place a spoonful of filling in the centre of each circle, leaving a 1-inch edge all around. It is tempting to overfill the mini galettes, but this will make them very hard to fold and likely result in overflow during baking (do as I say, not as I photograph…the overflowing pictures were just so much more satisfying). Regardless of which galette you’ve chosen, you will probably have leftover filling, which makes killer blueberry milkshakes when blended with milk and ice cream…
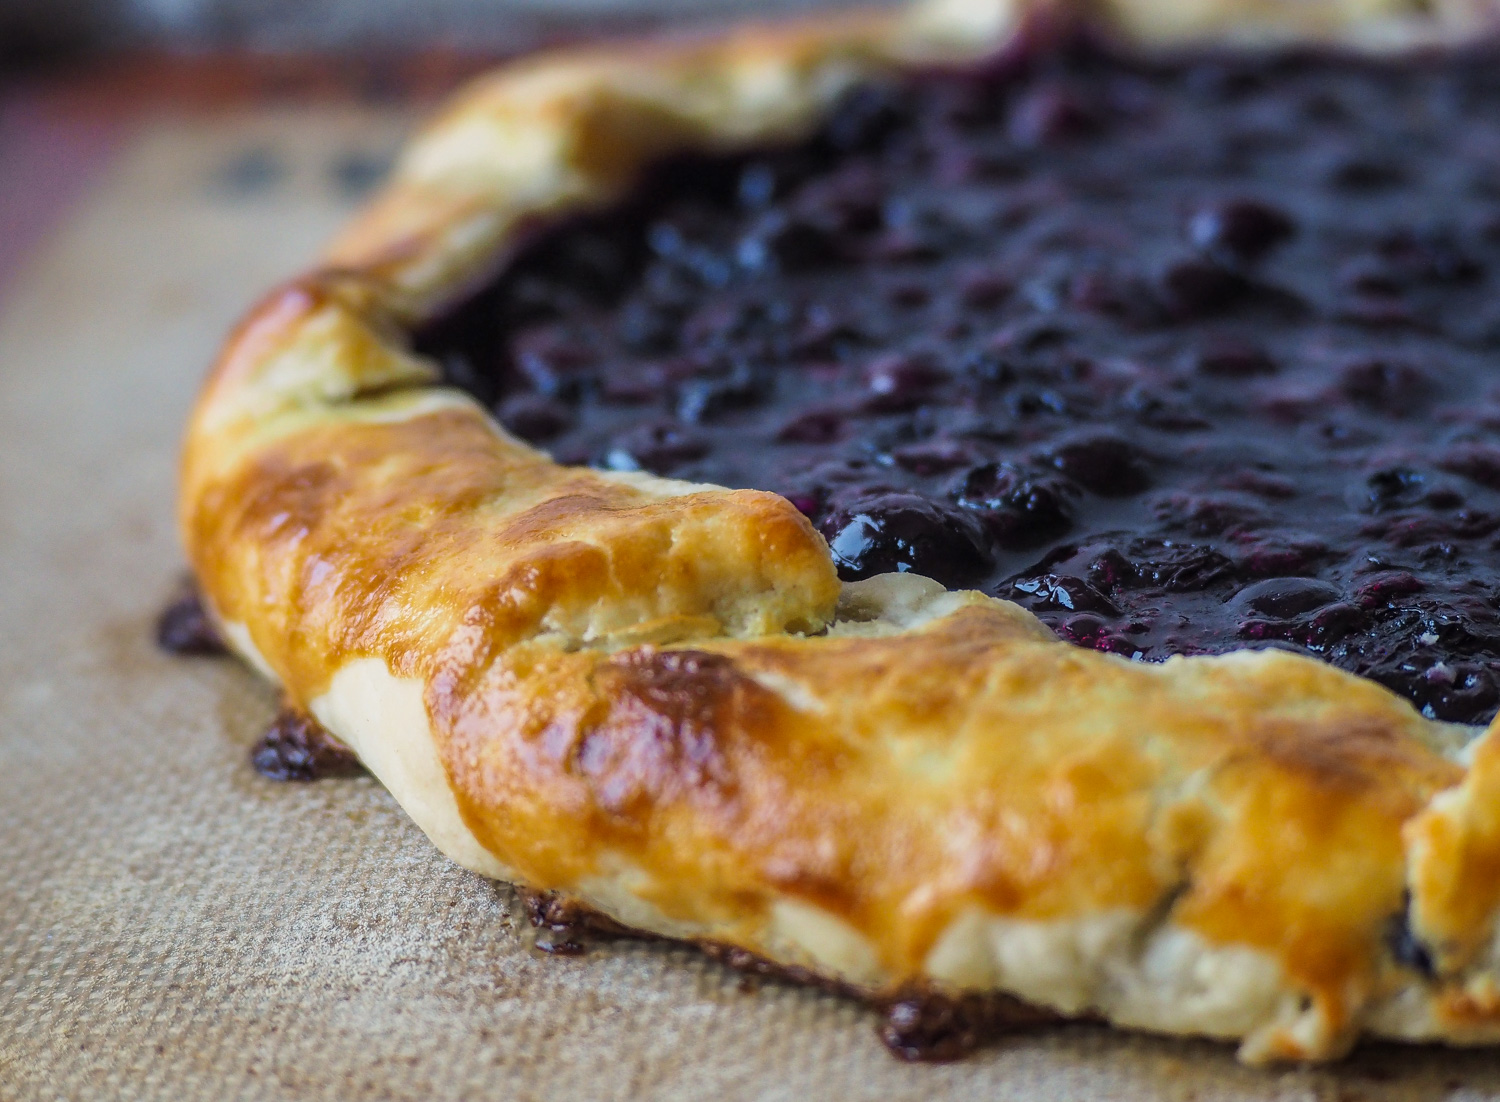
Lift the edges of the pastry and fold them inwards, creating a pleated edge around the filling that encloses it slightly, leaving the berries with nowhere to escape. This goes for either the large or small galette, though the smaller ones are fiddlier and I usually do more of a pinched-edge star shape instead of a pleat for these ones. Beat the egg yolk with the heavy cream and brush this mixture onto the pastry (avoid getting the egg wash in the filling). If you opted for the mini galettes, I highly highly highly recommend letting them sit in the freezer for 10-15 minutes prior to baking as this will reduce your chances of edges collapsing and becoming misshapen.
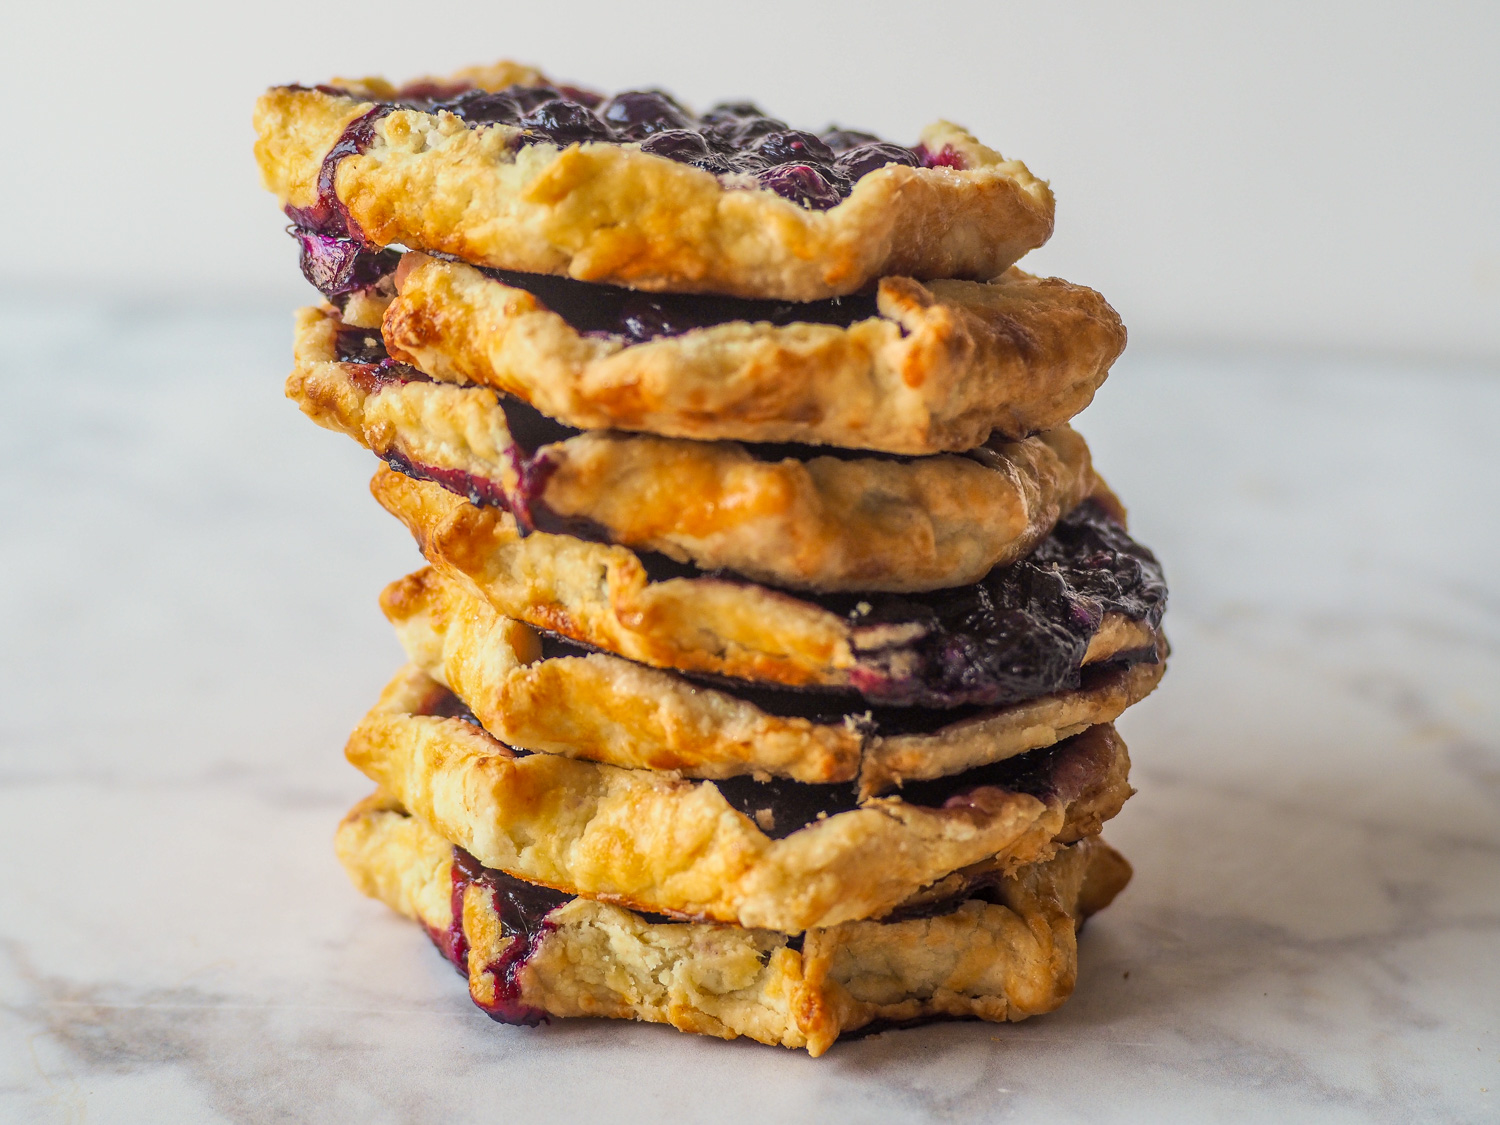
Place the galette(s) on the middle rack of the oven and bake for 20 minutes (small galettes) or 25-30 minutes (large galette), rotating the baking sheet from front to back halfway through cooking time. Once done, the pastry should appear golden brown and the filling should be bubbling. Set the baking sheet on a cooling rack and let the galette(s) cool to room temperature. Cut into slices or serve individually. Ice cream is optional (but is it really?).
