BA’s Best: Sour Cherry Pie

Ah, cherry pie. Perhaps one of the more iconic images of summer. Seriously, is there anything more summery than baking a fresh cherry pie from scratch? Okay, yes, perhaps actually going outside rather than being in an already-hot apartment with the oven blasting and a tiny useless fan positioned 3 inches away from you at all times would be an arguably more summer-appreciative scenario, but I was never much of an outdoorsy gal to begin with. Those of you who are summer hike enthusiasts or made-up-summer-sport aficionados can have your long outdoor days; I’ll keep my sweltering little apartment and the thick slices of cherry pie that it rewards my loyalty with.
If you too count yourself as a more indoor-inclined individual, I welcome you with open arms and encourage you to be the sort of lunatic who dares to bake pies on hideously sticky days that would likely be better (but not more deliciously) spent sitting near large bodies of water.
If you’re still with me up to this point, don’t be persuaded back outside with the other humans when you realize that this is rather a long recipe. Yes it looks like a lot of instructions, but that’s just so you don’t screw it up! I’m painting you a word picture here. Anyone and their dog can eff up a pie; I’m here to make sure that your pie-making experience is nothing short of a monumental success story. And with its diner-style, oozy, bright red jamminess combined with the *ping* of tartness from the sour cherries, this recipe has all the trappings for being exactly that.
Are you ready to become the recipient of both an AMAZING summer dessert and people’s incredulous stares when they realized that you devoted the whole day to being in the hottest room of your house? Great, that’s probably why we’re friends.
BA’s Best: Sour Cherry Pie
Taken directly from BA’s Best arsenal, with the most minor of tweaks here and there
Makes 1 double-crust pie (serves roughly 8-10 people)
Ingredients:
Crust:
1/3 cup almond flour
¼ cup white sugar
1 tsp kosher salt
2 ½ cups all-purpose flour (measured correctly) + more for dusting
1 cup (2 sticks) chilled, unsalted butter
2 large egg yolks
Filling and Assembly:
1 cup white sugar
1 tbsp finely grated lime zest
3 tbsp cornstarch
Pinch of kosher salt
3 lb fresh sour cherries (pitted) or 6 cups frozen sour cherries
1 large egg, beaten well
Demerera or raw cane sugar, for sprinkling
Directions:
Start by making the crust. Cut the cold butter into large cubes and place back in the fridge for 10 minutes, just to firm up again after being warmed by your hands. Using a food processor, pulse the almond flour, sugar, salt, and all-purpose flour to mix. Add the cold butter cubes and pulse until the mixture resembles very coarse cornmeal. Whisk the egg yolks with ¼ cup ice water in a small bowl; drizzle over the flour-butter mixture. Pulse, drizzling in more ice water as needed, until the dough just comes together. It is okay to still have a few dry spots. You can tell that the dough has “come together” if you push some up against the wall of the food processor and it compacts easily against the wall. You can also gently squeeze and release it with your hand to ensure that it stays formed.
Carefully turn the dough out onto a lightly floured surface. Gently knead the dough until no dry spots remain, about 1 minute. The dough should be lovely and smooth, with a pleasing, buttery yellow colour to it. Divide the dough in half and pat each piece into a flattish disk. Wrap each disk in plastic and refrigerate for at least 2 hours (or up to 3 days). I like to make sure that my dough sits directly on one of the shelves of the refrigerator (versus on top of other things) to ensure that it gets as chilled as possible.
Once the dough is adequately chilled, preheat the oven to 425 degrees F. Let the dough sit at room temperature for 5 minutes to soften slightly. On a lightly floured surface, roll out 1 disk of dough to a (roughly) 12-inch round. When rolling pie crust, ensure that you’re constantly turning the dough (to avoid parts of it sticking or getting rolled thinner than other areas) and lightly dusting any sticky spots with flour. Transfer the dough round to a lined baking sheet and chill. Repeat with the remaining disk of dough, placing a sheet of parchment paper over the first round onto which you will set the second round of dough to chill. The rolled circles of dough only need to chill for a few minutes, just to firm them up again after the warmth of your hands and rolling pin.
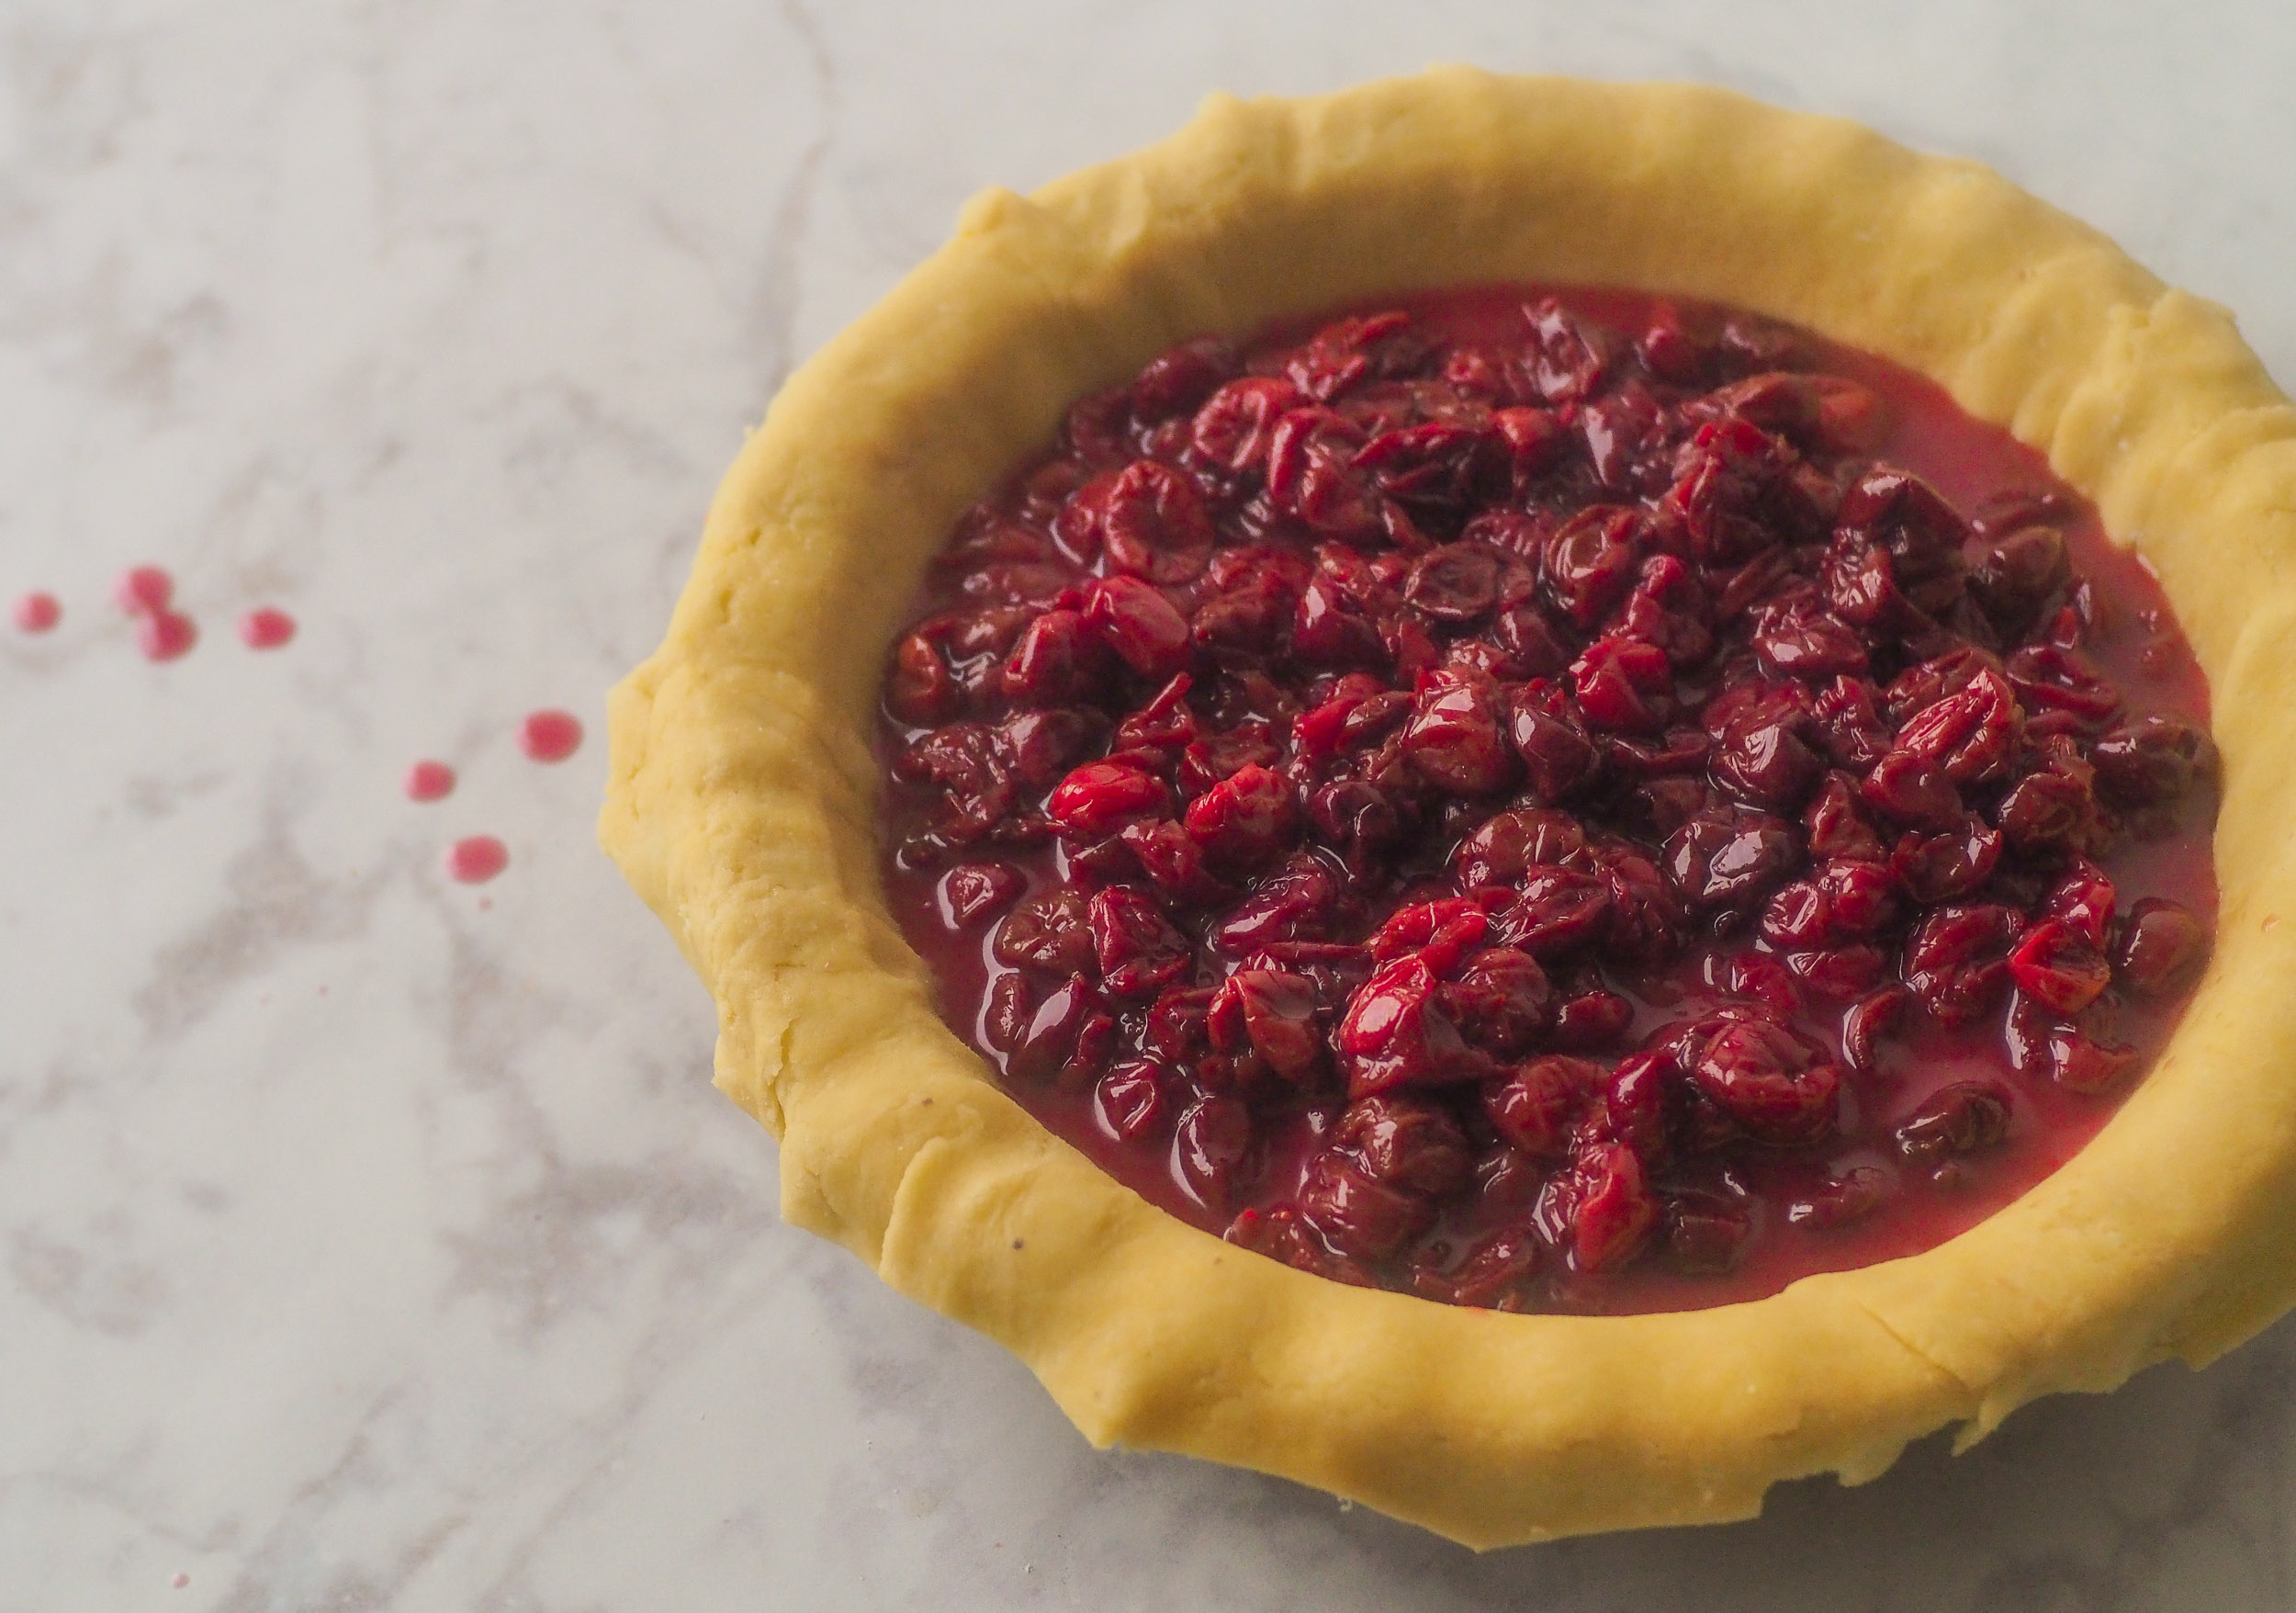
Start making the filling by combining 1 cup white sugar with the lime zest and rubbing the 2 together with your fingertips. This will release the oils in the lime zest and make a lovely citrus-scented sugar for your cherries to frolic about in. Whisk in the cornstarch and kosher salt until no lumps remain. Add the cherries and toss to coat. If you’re using frozen cherries (as I did), you may have to drain off some liquid from the cherries prior to stirring them in.
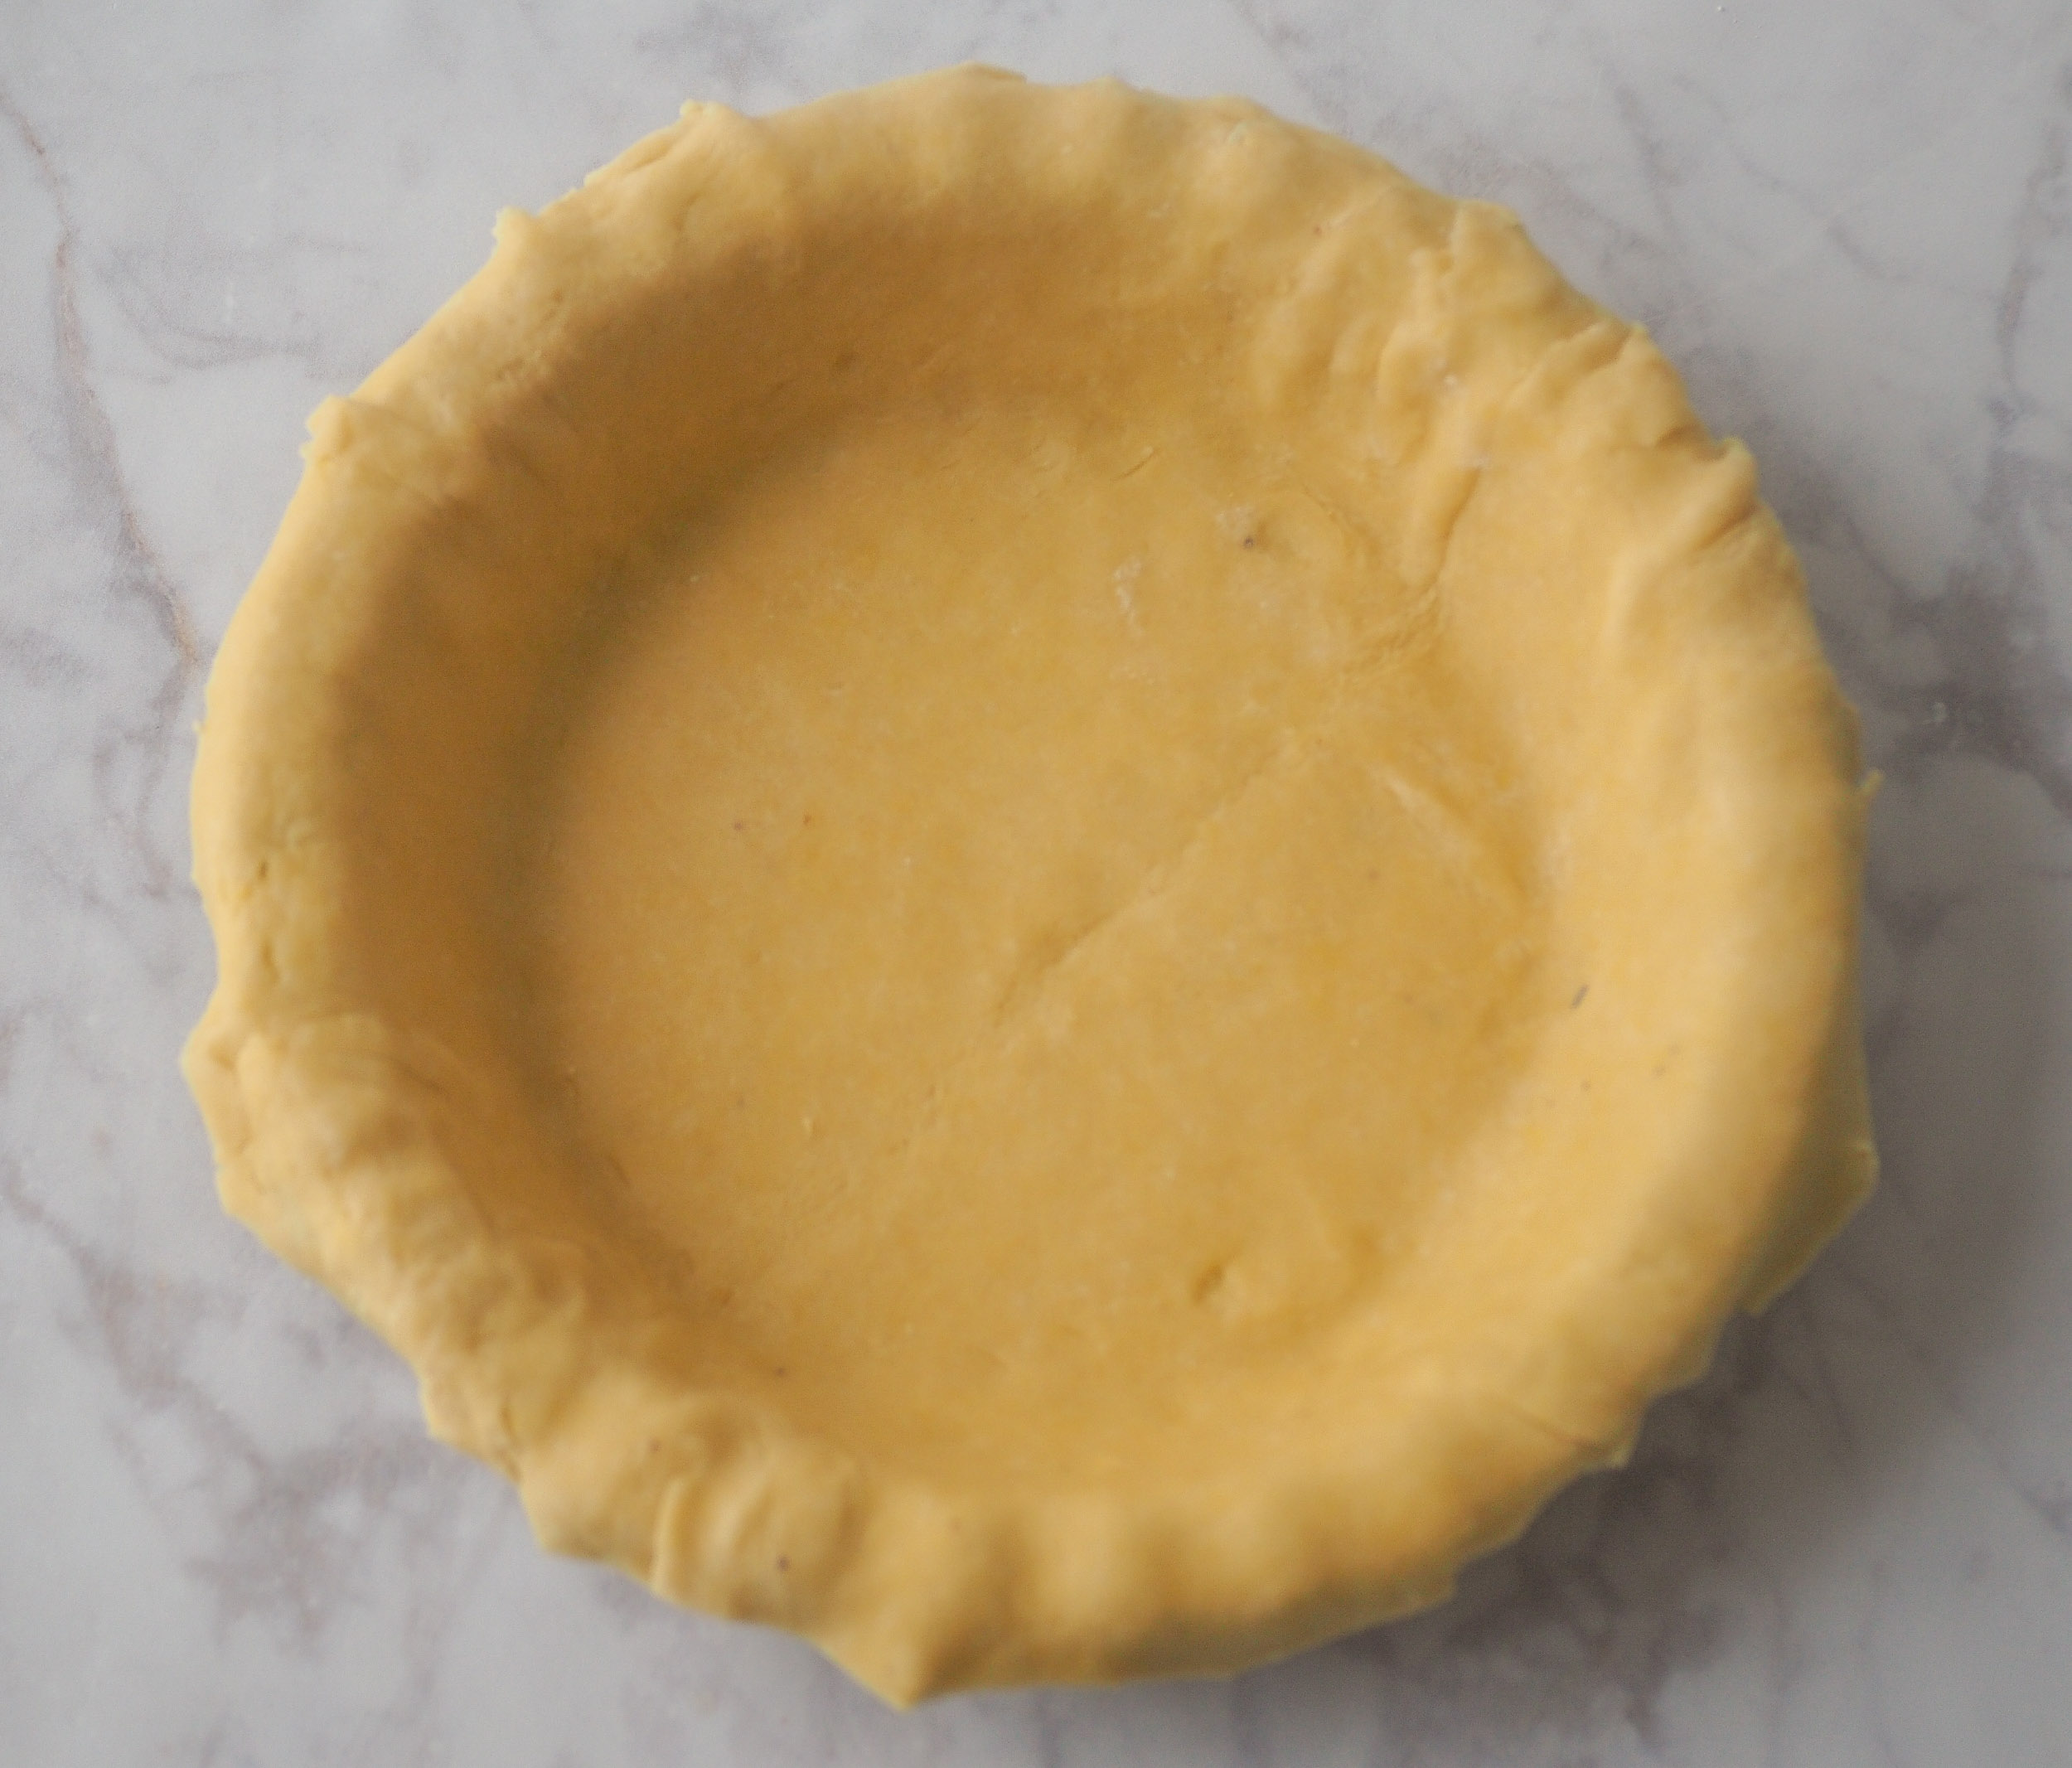
Remove 1 of the dough circles from the fridge (the bigger one if they look noticeably different in size) and carefully transfer it to a 9-inch pie dish. I find it easiest to delicately fold the dough in half one way, then the other way, then to place the point of the folded dough in the centre of the pie dish and unfold. You want to allow the crust to just slump into the pie dish – no tugging or stretching to get it to fit! It should be draped in with no areas of tautness or tension. Very lightly push it down so that it fits the pie dish. Trim the edge of the dough to about a 1-inch overhang below the lip of the pie dish (don’t stress if it’s not a full inch or if some areas have a bit longer overhang than others – you’ll pretty it all up in a bit). Scrape the cherry filling into the prepared crust. I found that quite a bit of liquid had built up in the bowl from the cherries starting to thaw out a bit so I tried to just pour in the starchier liquid and leave some of the cherry juices in the bottom of the bowl.
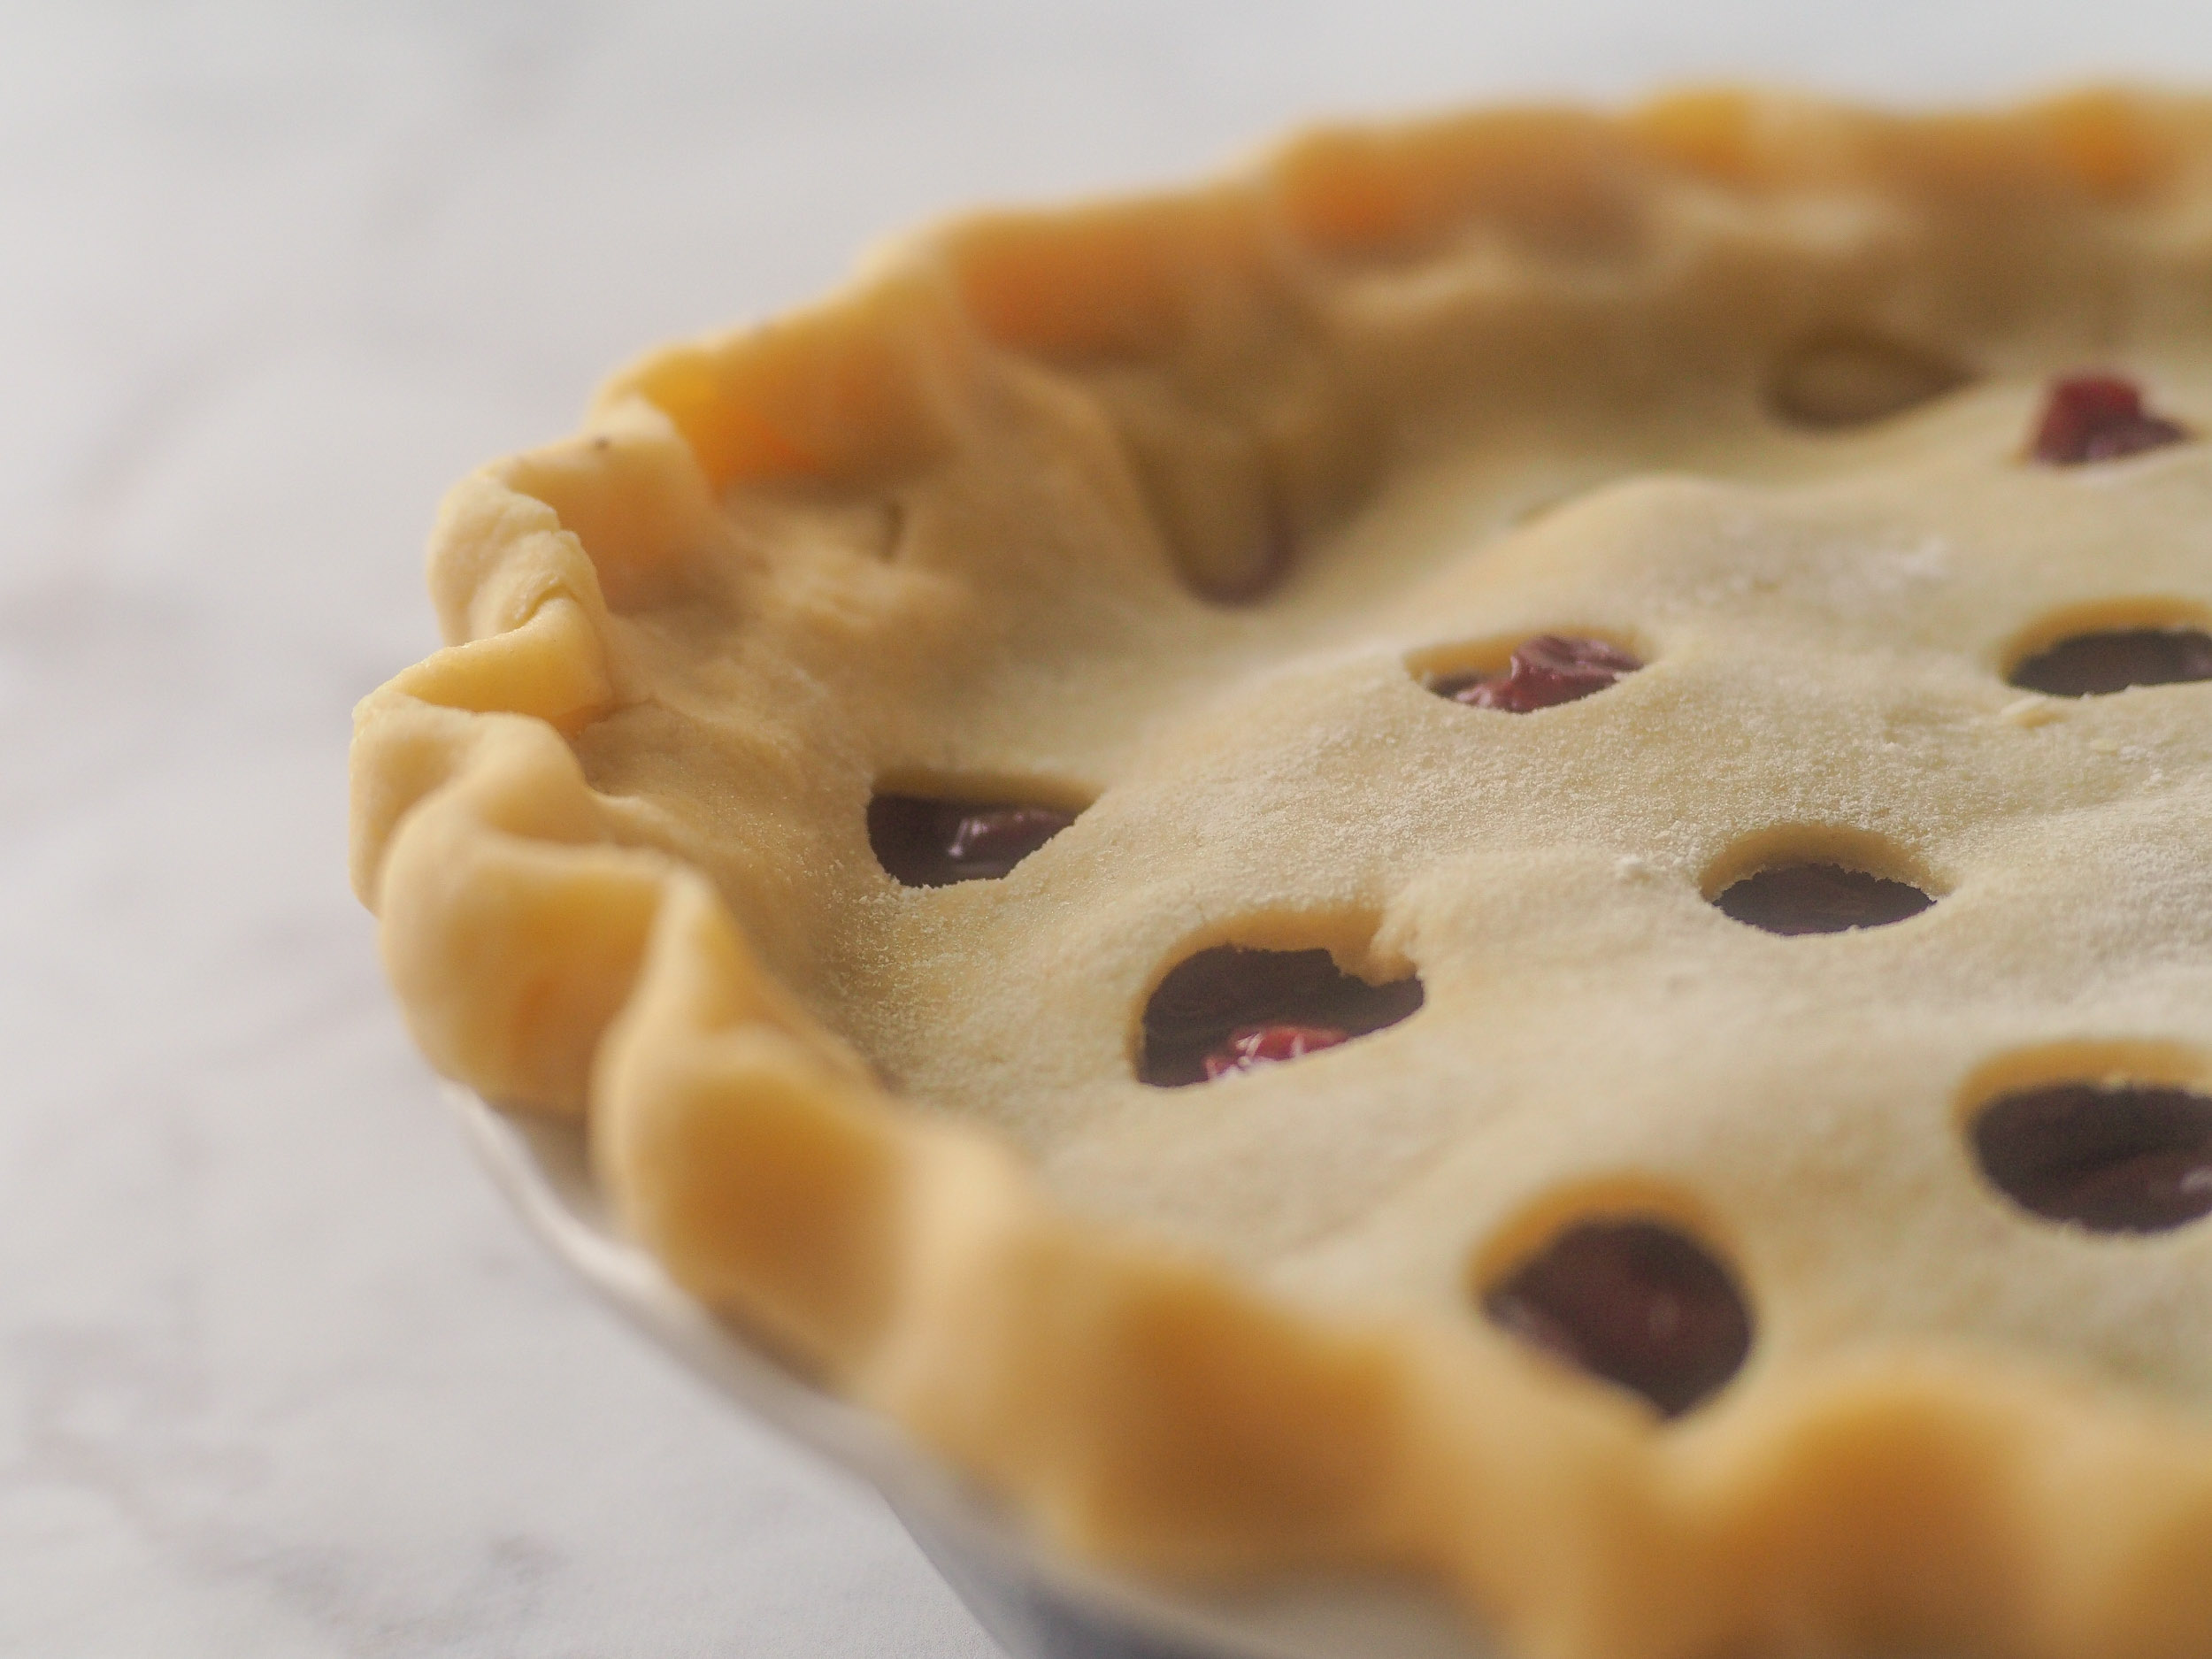
Place the remaining dough round on a very lightly floured surface and punch holes in the dough using anything circular that is about ½ -inch to ¾ -inch in diameter (I used the lid from my contact lens solution – be creative!). You don’t want the holes too close together or it will make the crust hard to transfer. Make enough holes in the dough to cover an area that is slightly smaller than the diameter of your pie dish. Ever so carefully, place the hole-y circle over the pie filling. Fold the edge of the top crust under the bottom crust and lightly press the two together to seal. The crust should extend just beyond the lip of the pie dish without going under the rim. Make sure you can lift the edge off of the pie dish (this ensures that the crust doesn’t adhere to the dish, making it difficult to dislodge and cut when serving time rolls around). Crimp the crust as desired. I like to pinch the dough around my pointer finger to create a wavy edge around the pie, but you can also use a fork to make a simple prong pattern along the rim.
Brush the crust with the beaten egg and sprinkle with Demerara or cane sugar. Chill again for about 30 minutes, until the crust is firm.
Place the pie on a lined baking sheet and bake until the crust is golden, about 30 minutes. If your oven runs hot (like mine), you may find that the crust browns too quickly, in which case you can place foil all around the edge of the pie. You can also foil the whole pie, but just make sure you give the centre a chance to brown up at some point since it takes the longest to do so. I find it easiest to foil the whole pie and cut a circle out in the middle.
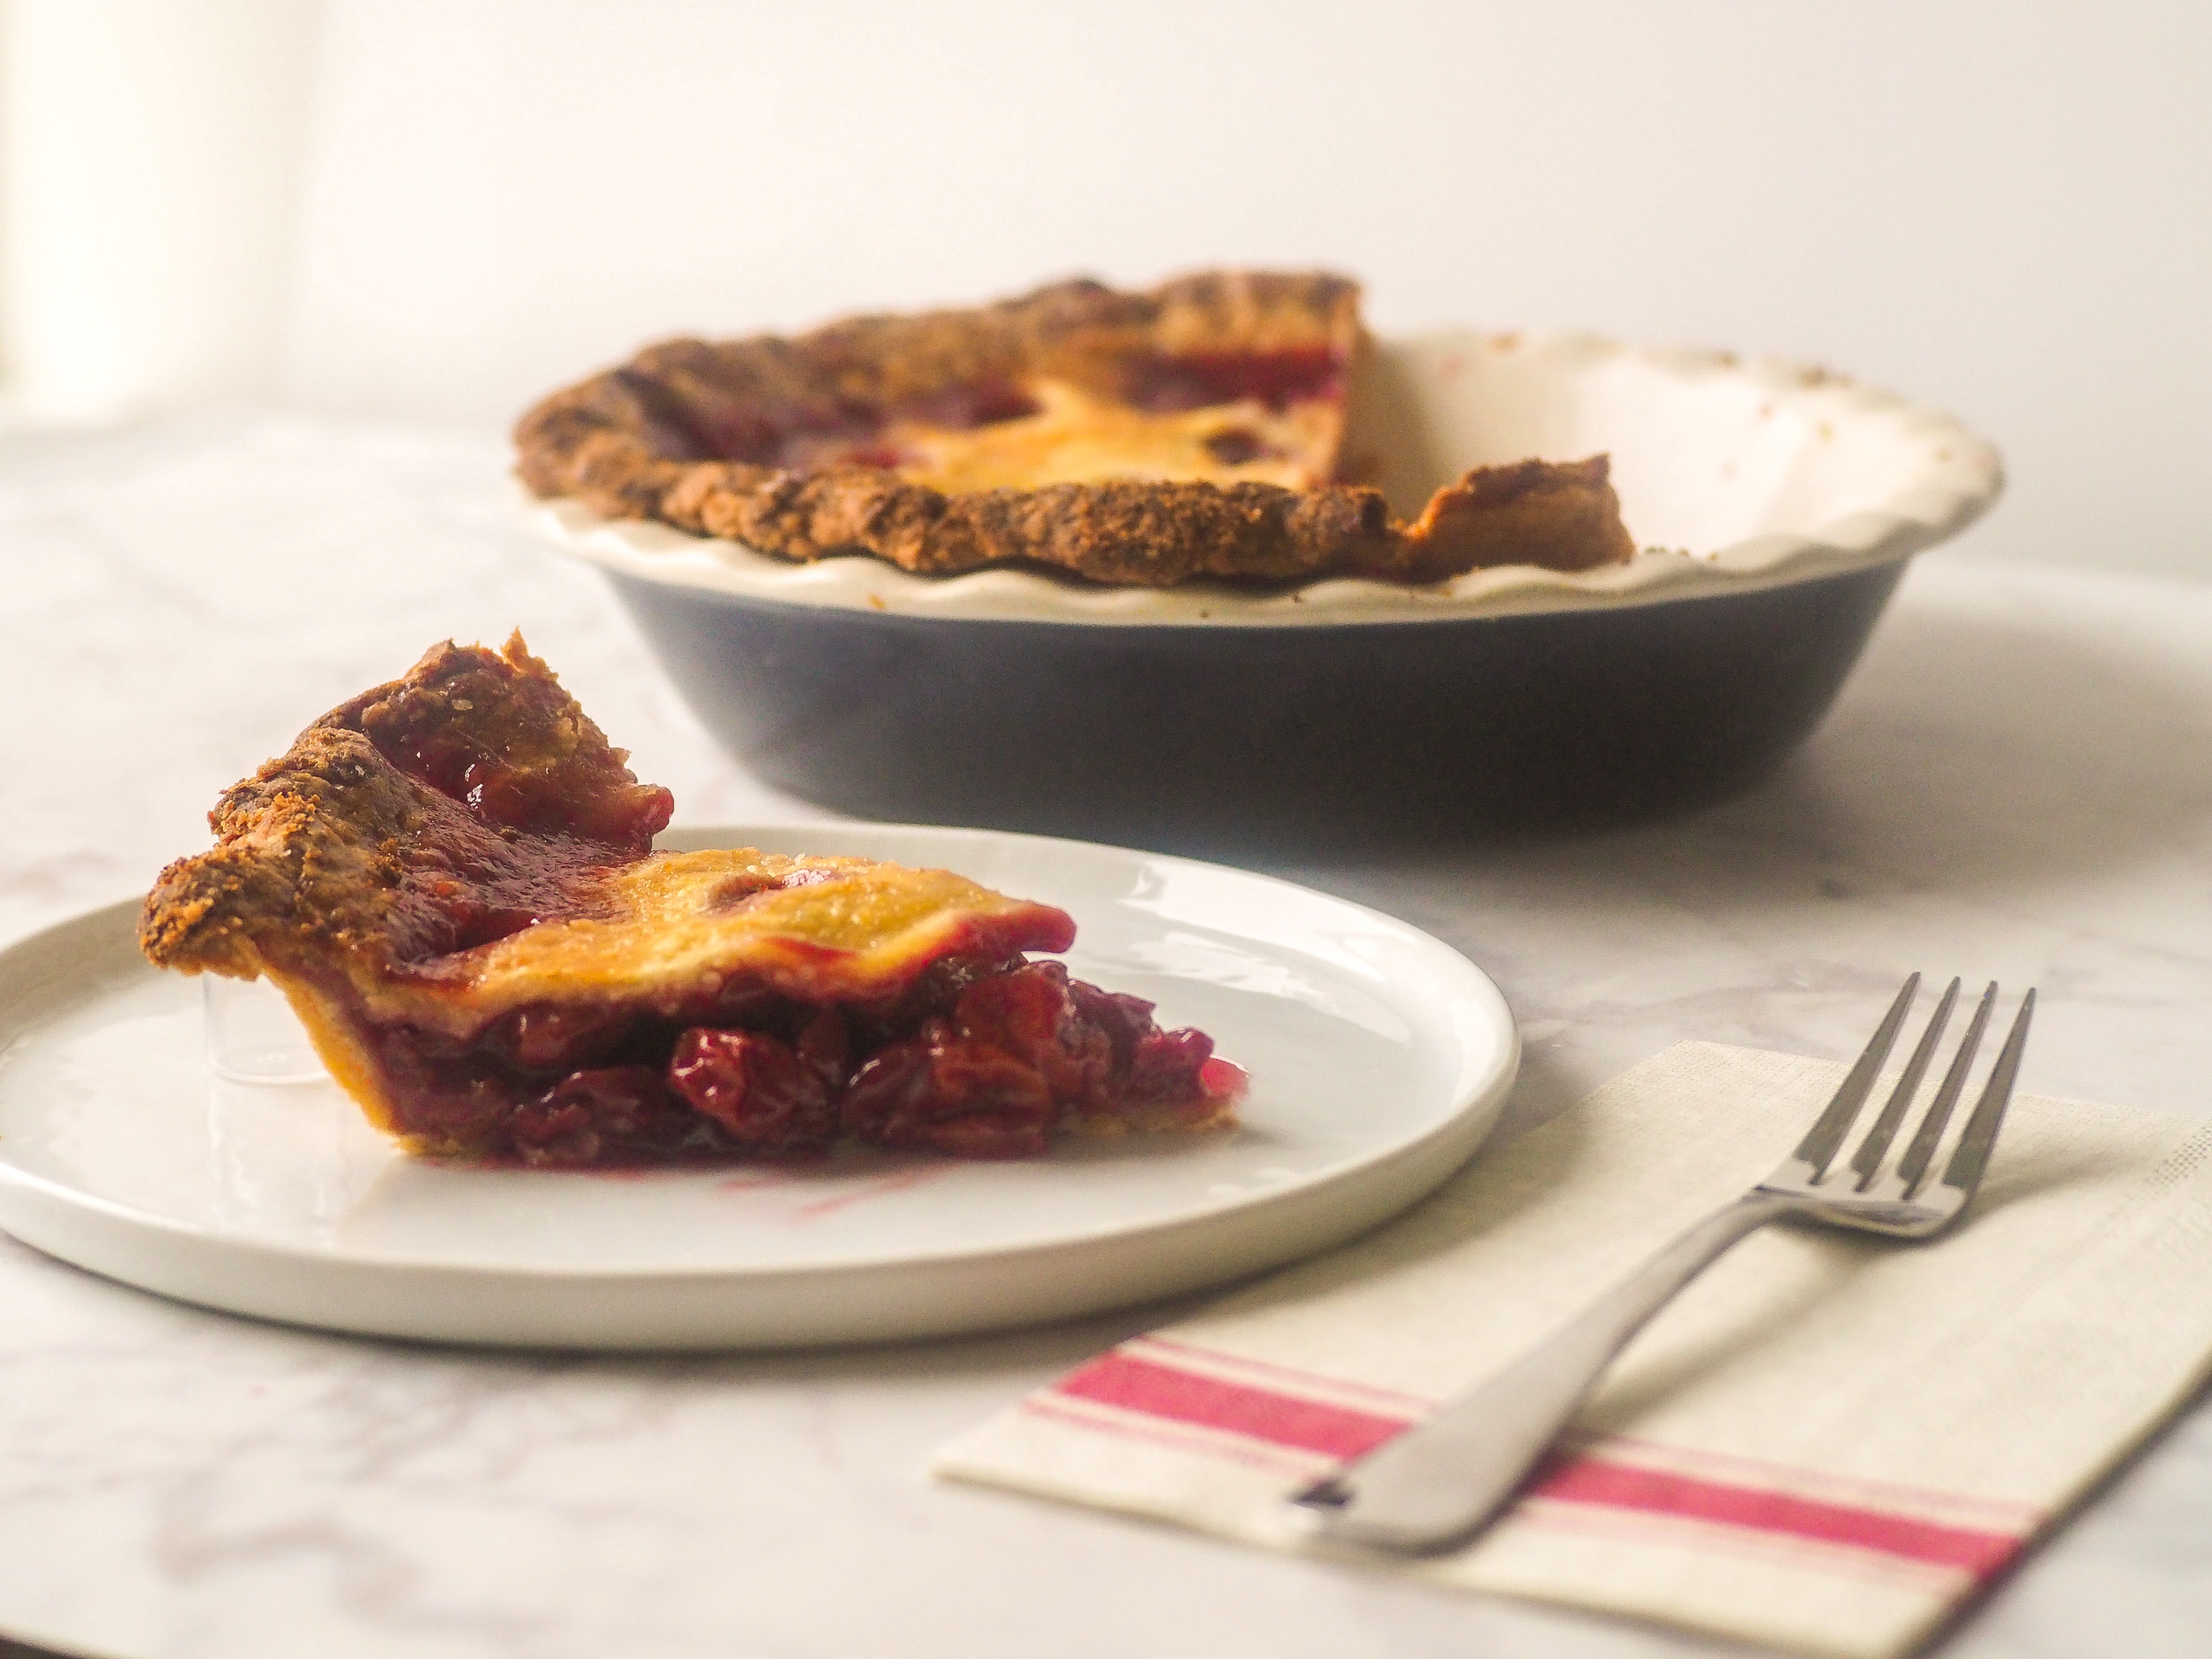
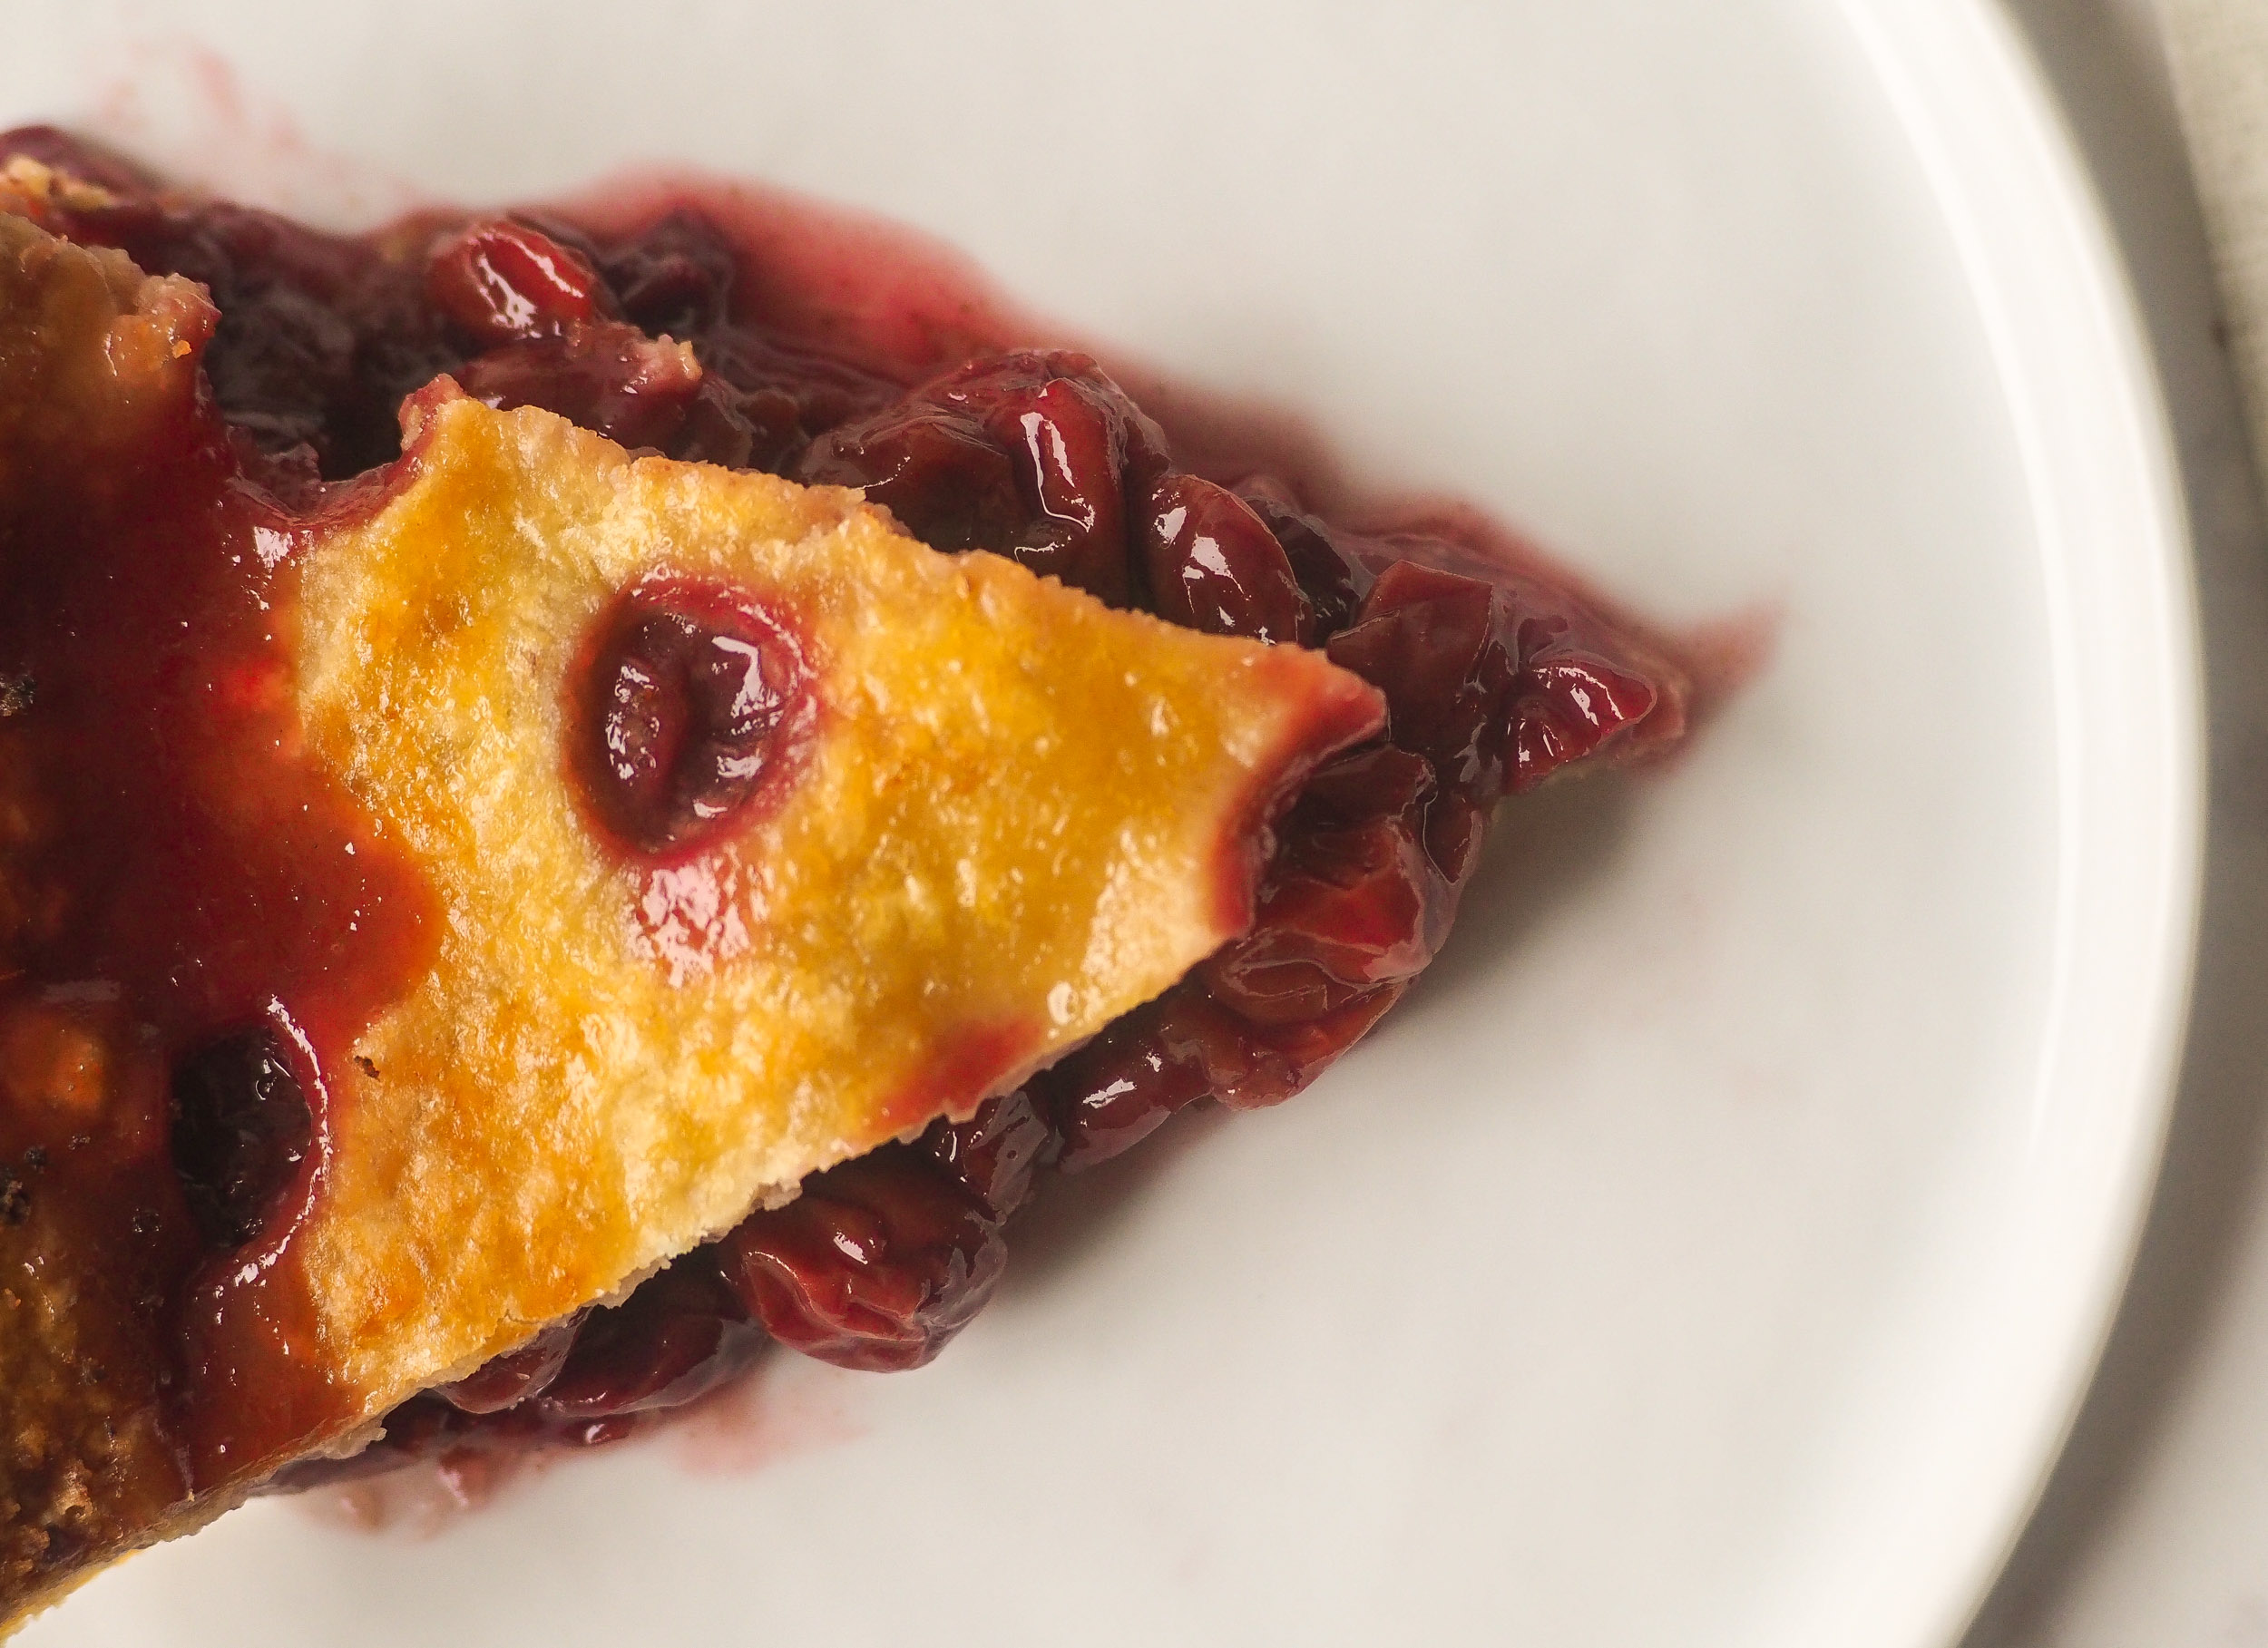
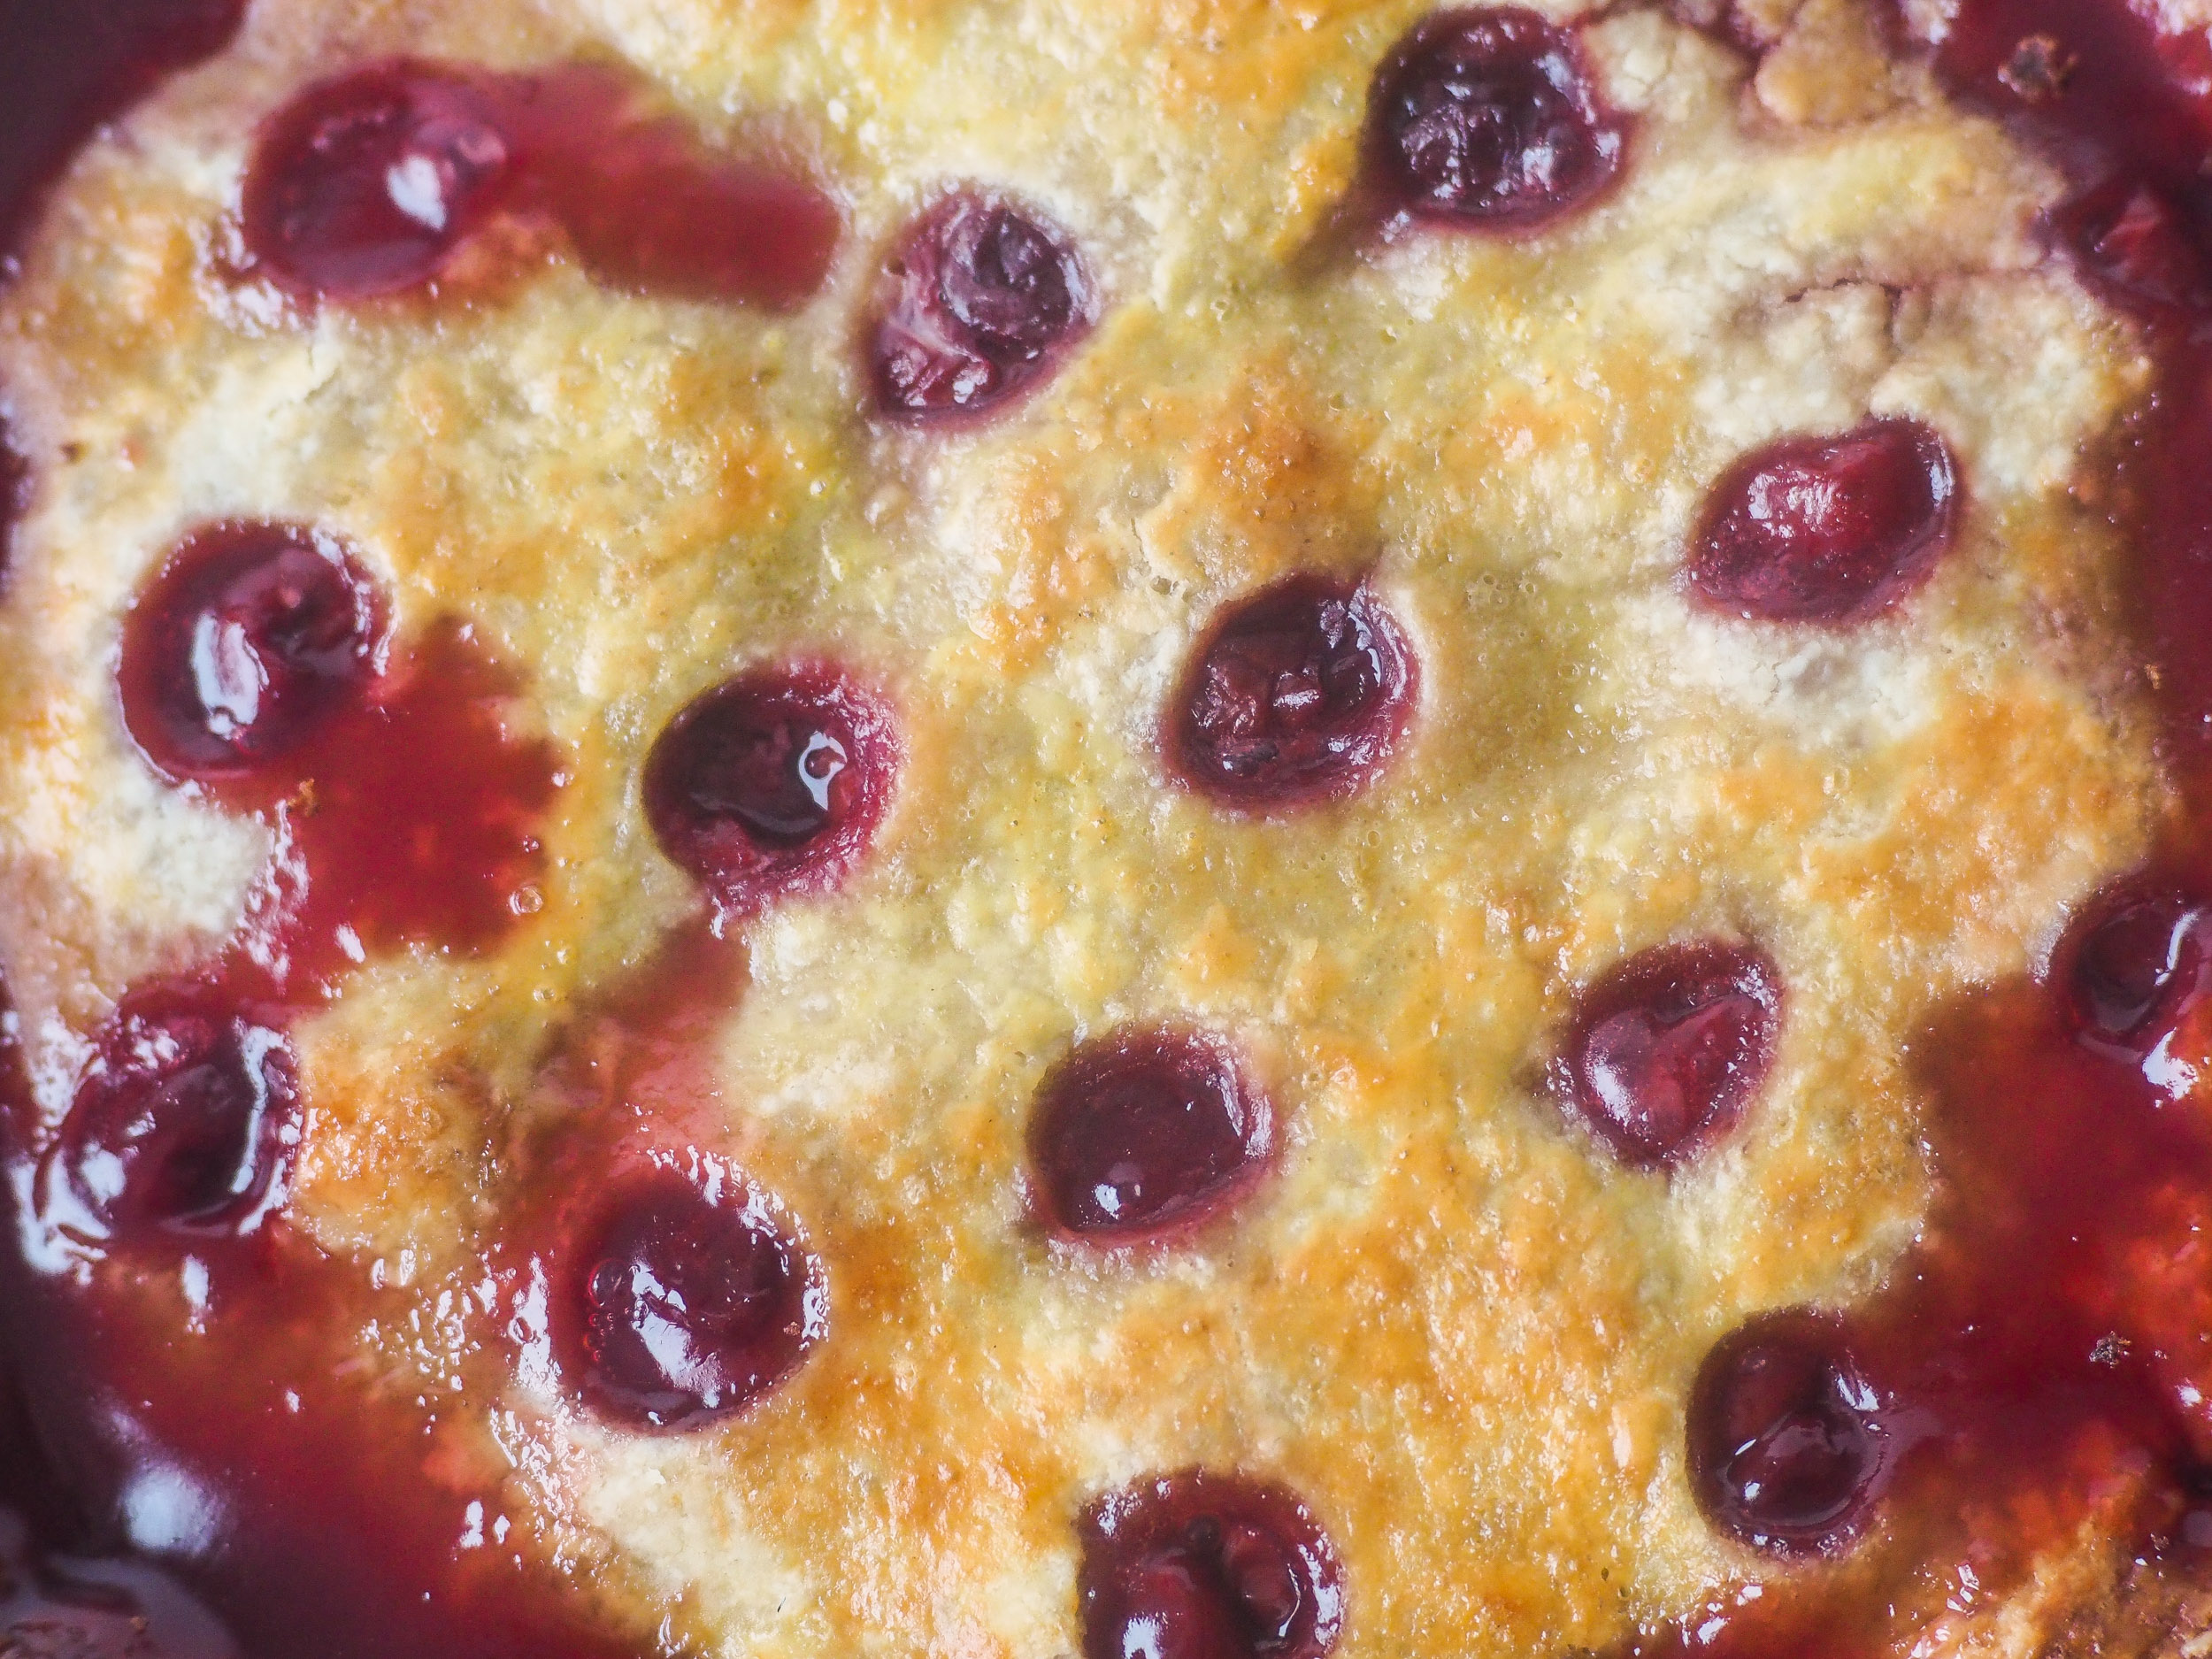
After 30 minutes of baking, reduce the own temperature to 350 degrees F and bake for another 50-60 minutes, checking regularly to ensure that nothing is over-browning (also known as BURNING). The pie should come out beautifully golden brown and bubbling. Transfer to a wire rack and let cool for at least 4 hours before slicing. Serve at room temperature with ice cream and plenty of napkins. To re-heat day-old pie, transfer the pie (or individual slices) to a low oven and warm for 10-15 minutes.