BA’s Best: Pumpkin Pie

Pumpkin pie is a hugely time-consuming undertaking. I tell you this not to scare you away from making it, but to instill a realistic understanding of the level of ambition that this recipe involves. If you’re super set on making pumpkin pie as part of some sort of holiday dinner contribution, then awesome, glad to hear it, but don’t come around here looking for some quick n’ dirty 2-hour project. Uh uh, this isn’t that (though you can stretch it out into a 2-day project to divide up some of the workload – see Directions). What this recipe does promise you is a DOPE pumpkin pie with a crust that is surprisingly compliant (I normally eschew crusts made with anything other than butter, but I bow down to this combination) and a creamy filling with an impressive depth of spice and flavour. Also you get to open (but not use up!) a can of condensed milk. Maybe make yourself some Vietnamese coffee to fuel you through the next 6 hours of pie-making?
BA’s Best: Pumpkin Pie
Taken directly from BA’s Best arsenal
Makes 1 pie (serves roughly 8 people)
**Please note: this recipe requires the use of a large food processor.
Ingredients:
Crust:
2 cups all-purpose flour (measured correctly) + more for dusting
1 tbsp white sugar
1 ½ tsp kosher salt
5 tbsp (½ stick + 1 tbsp) cold unsalted butter, cut into pieces and chilled
3 tbsp cold shortening or lard
1 tbsp apple cider vinegar
1 large egg, beaten
Filling and Assembly:
1/3 cup sugar
1 tsp cinnamon
¾ tsp kosher salt
½ tsp ground ginger
¼ tsp ground cloves
¼ tsp ground nutmeg
2 large eggs + 1 large yolk, room temperature and beaten to blend
2 cups canned, unsweetened pumpkin puree (NOT pumpkin pie filling)
2/3 sweetened condensed milk
1/3 cup heavy (whipping) cream
2 tbsp maple syrup
2 tsp vanilla
Whipped cream or ice cream, to serve (optional)
Directions:
As with all pie-making, start by working on the crust. Place the flour, sugar, and salt in the bowl of a food processor and pulse to combine. Add the cold butter pieces and the cold shortening/lard, sprinkling evenly throughout the flour. Pulse until the mixture resembles a very coarse meal, with bits of butter and shortening/lard still visible (roughly 15 1-second pulses). Prepare a glass of ice water, then, with the motor of the food processor running (on pulse mode), drizzle in the apple cider vinegar and 5 ½ tbsp. ice water. Pulse the dough until it’s still crumbly but just holds its shape when squeezed lightly. Add a touch more water if this is not the texture you’ve achieved, but do NOT be heavy-handed and do NOT overwork the dough.
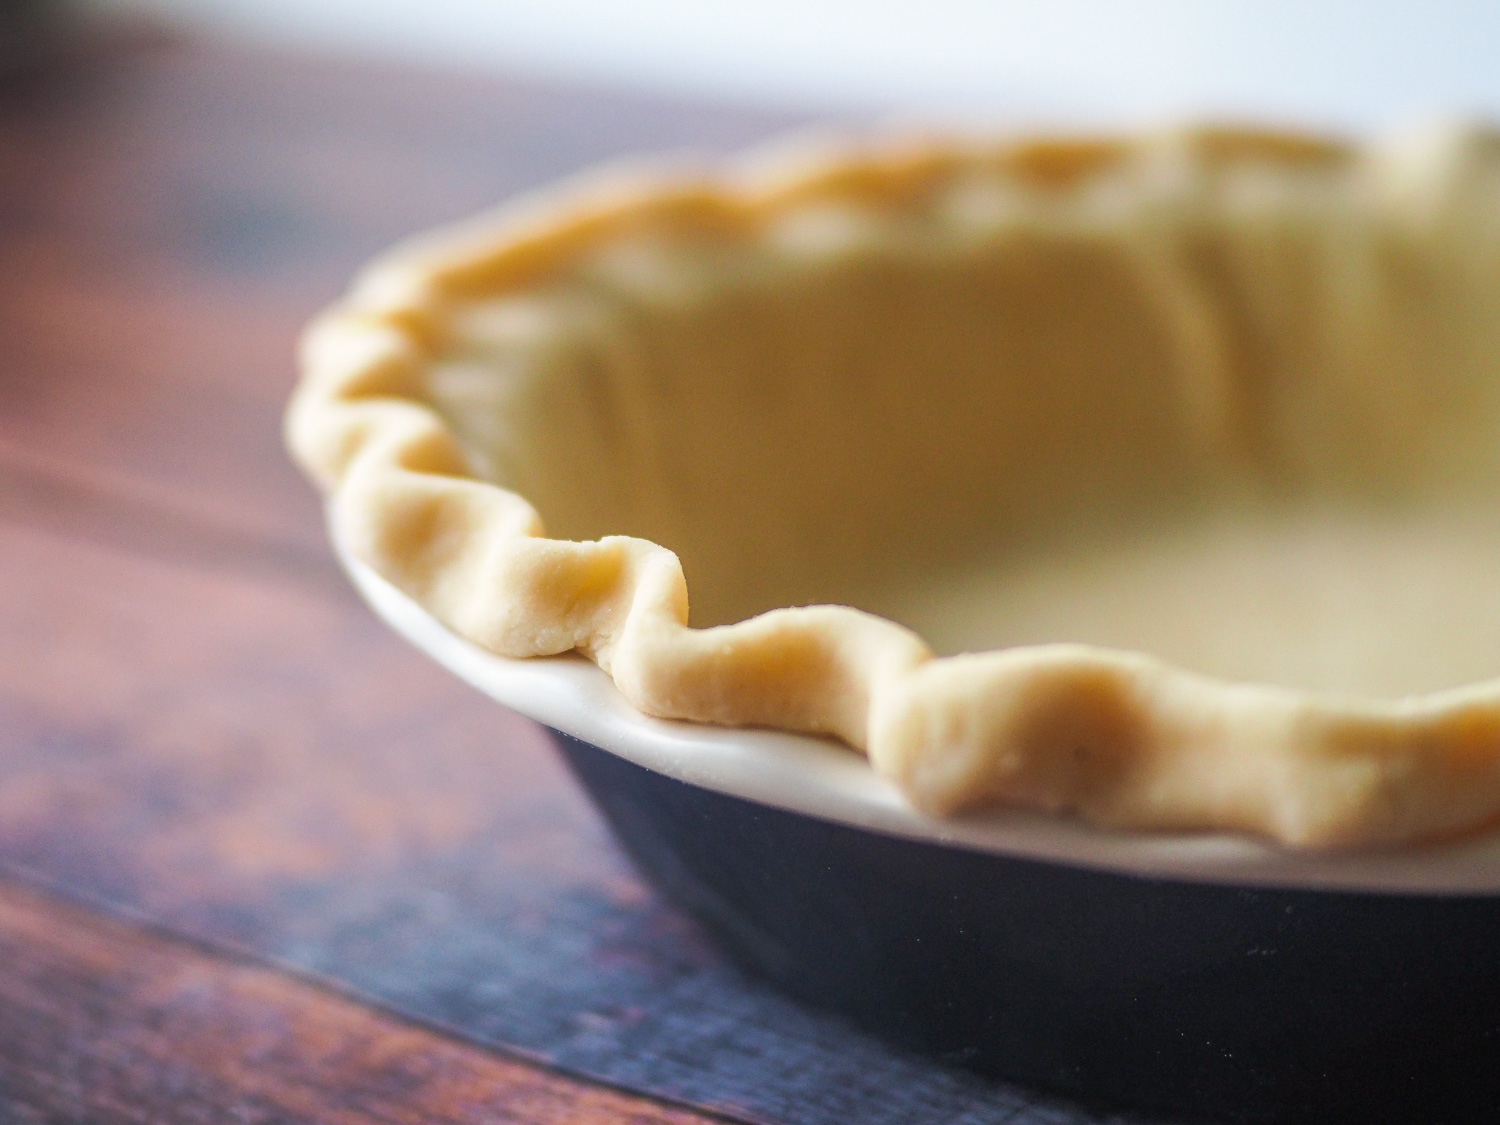
Turn the dough out onto a floured work surface and knead it very gently, just to incorporate any particularly dry bits. You should be left with a fairly shaggy dough. Flatten the dough into a disk, wrap it in plastic, and chill for at least an hour if not longer. While the dough chills, heat the oven to 400 degrees F. Once the dough has chilled, let it sit at room temperature for 5 minutes before rolling out on a floured work surface to a 14-inch circle. When rolling pie crust, ensure that you’re constantly turning the dough (to avoid parts of it sticking or getting rolled thinner than other areas) and lightly dusting any sticky spots with flour. Transfer the dough round to a pie dish by folding it loosely into quarters and laying the point in the centre of the dish before unfolding. Lift up the edges and allow the dough to slump down into the dish. Gently press the dough into the edges of the dish, but avoid stretching or tautness of any kind as this will only result in eventual shrinkage. Trim the edge to leave a tidy 1-inch overhang. Fold the overhang under, then pinch and crimp the edge in whatever way pleases you. I did a very simple crimp by pinching the dough gently around my pointer finger with the thumb and pointer of my other hand to create a rippled pattern. Chill the crust for 30 minutes.
Very lightly prick the crust with the tines of a fork in a couple of spots along the bottom (try not to penetrate through to the dish though). Line the chilled dough with parchment paper or foil, leaving some overhang. Fill the crust with pie weights or dried beans. Bake until the crust has dried around the edges and is just beginning to brown, around 20-25 minutes, depending on how hot your oven runs. Carefully remove the parchment paper and weights/beans from the pie. Reduce the oven temperature to 350 degrees F. Brush the inside of the crust (not the crimped edge) with the beaten egg, then return the pie to the oven for another 10 minutes. Transfer to a wire rack and let cool. If you are staggering your pie-making over the course of 2 days, this is when you should wrap your crust in plastic wrap (once cool, OF COURSE) and leave it on the counter until the next day before proceeding on.
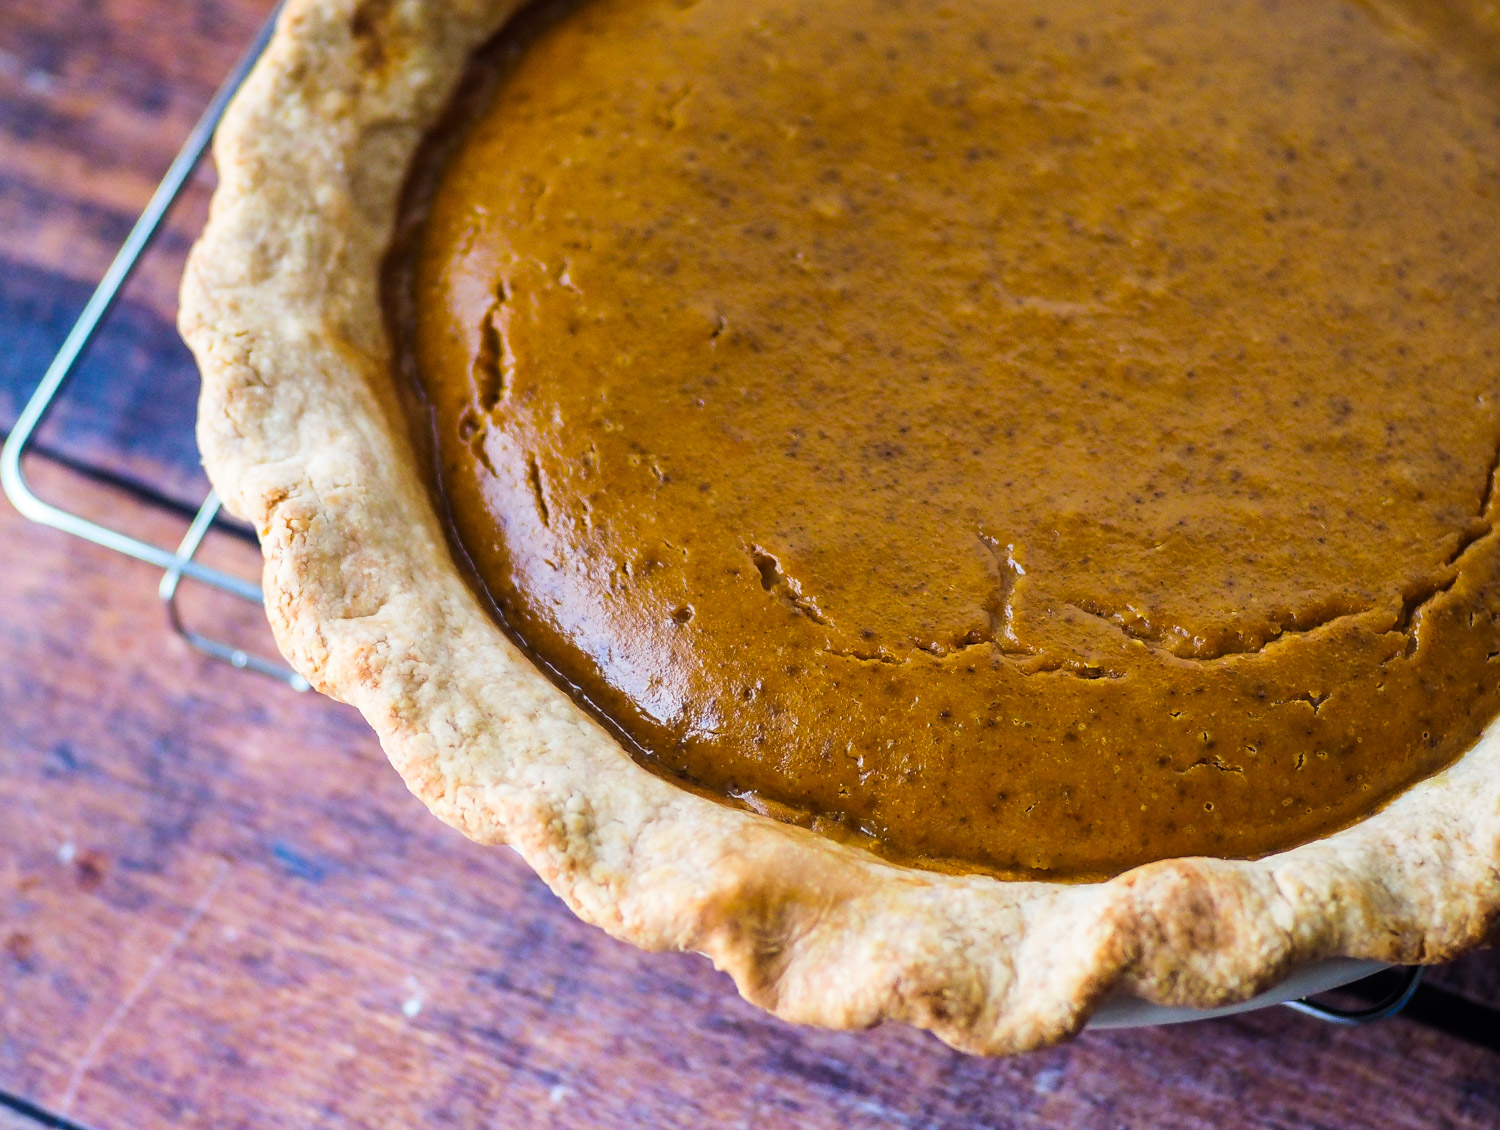
Lower the oven temperature to 325 degrees F (or preheat it if it’s the next day and you’re starting up again). While the oven heats, make your pie filling. In a large bowl, whisk together the sugar, cinnamon, salt, ginger, cloves, and nutmeg until smooth and lump-free. Add the eggs, pumpkin, condensed milk, cream, maple syrup, and vanilla. Whisk until very smooth and thick. Pour the filling into the cooled, cooked crust. Bake the pie in the middle of the oven for 60-75 minutes, checking every 20 minutes or so to ensure that the edges are not taking on too much colour. If needed, carefully place strips of foil along the edge of the crust to protect it, leaving the middle exposed. The pie is done when the filling has puffed and achieved the consistency of wobbly Jell-O. There should be a definite jiggle, but not soupiness. Transfer the pie to a wire rack to cool for at least 3-4 hours before slicing. I told you pumpkin pie was a fucking production to make – do you believe me now? Great! Go cut yourself a fat slab of pie, tell your guests to leave, and get your exhausted little self into bed.
